
The Making of a Sticker Sheet: My Digital to Physical Process
This year, most of my creative energy has been focused on the children’s publishing side of my work. However, I did manage to squeeze in some time for one new shop item: a cute succulent sticker sheet!
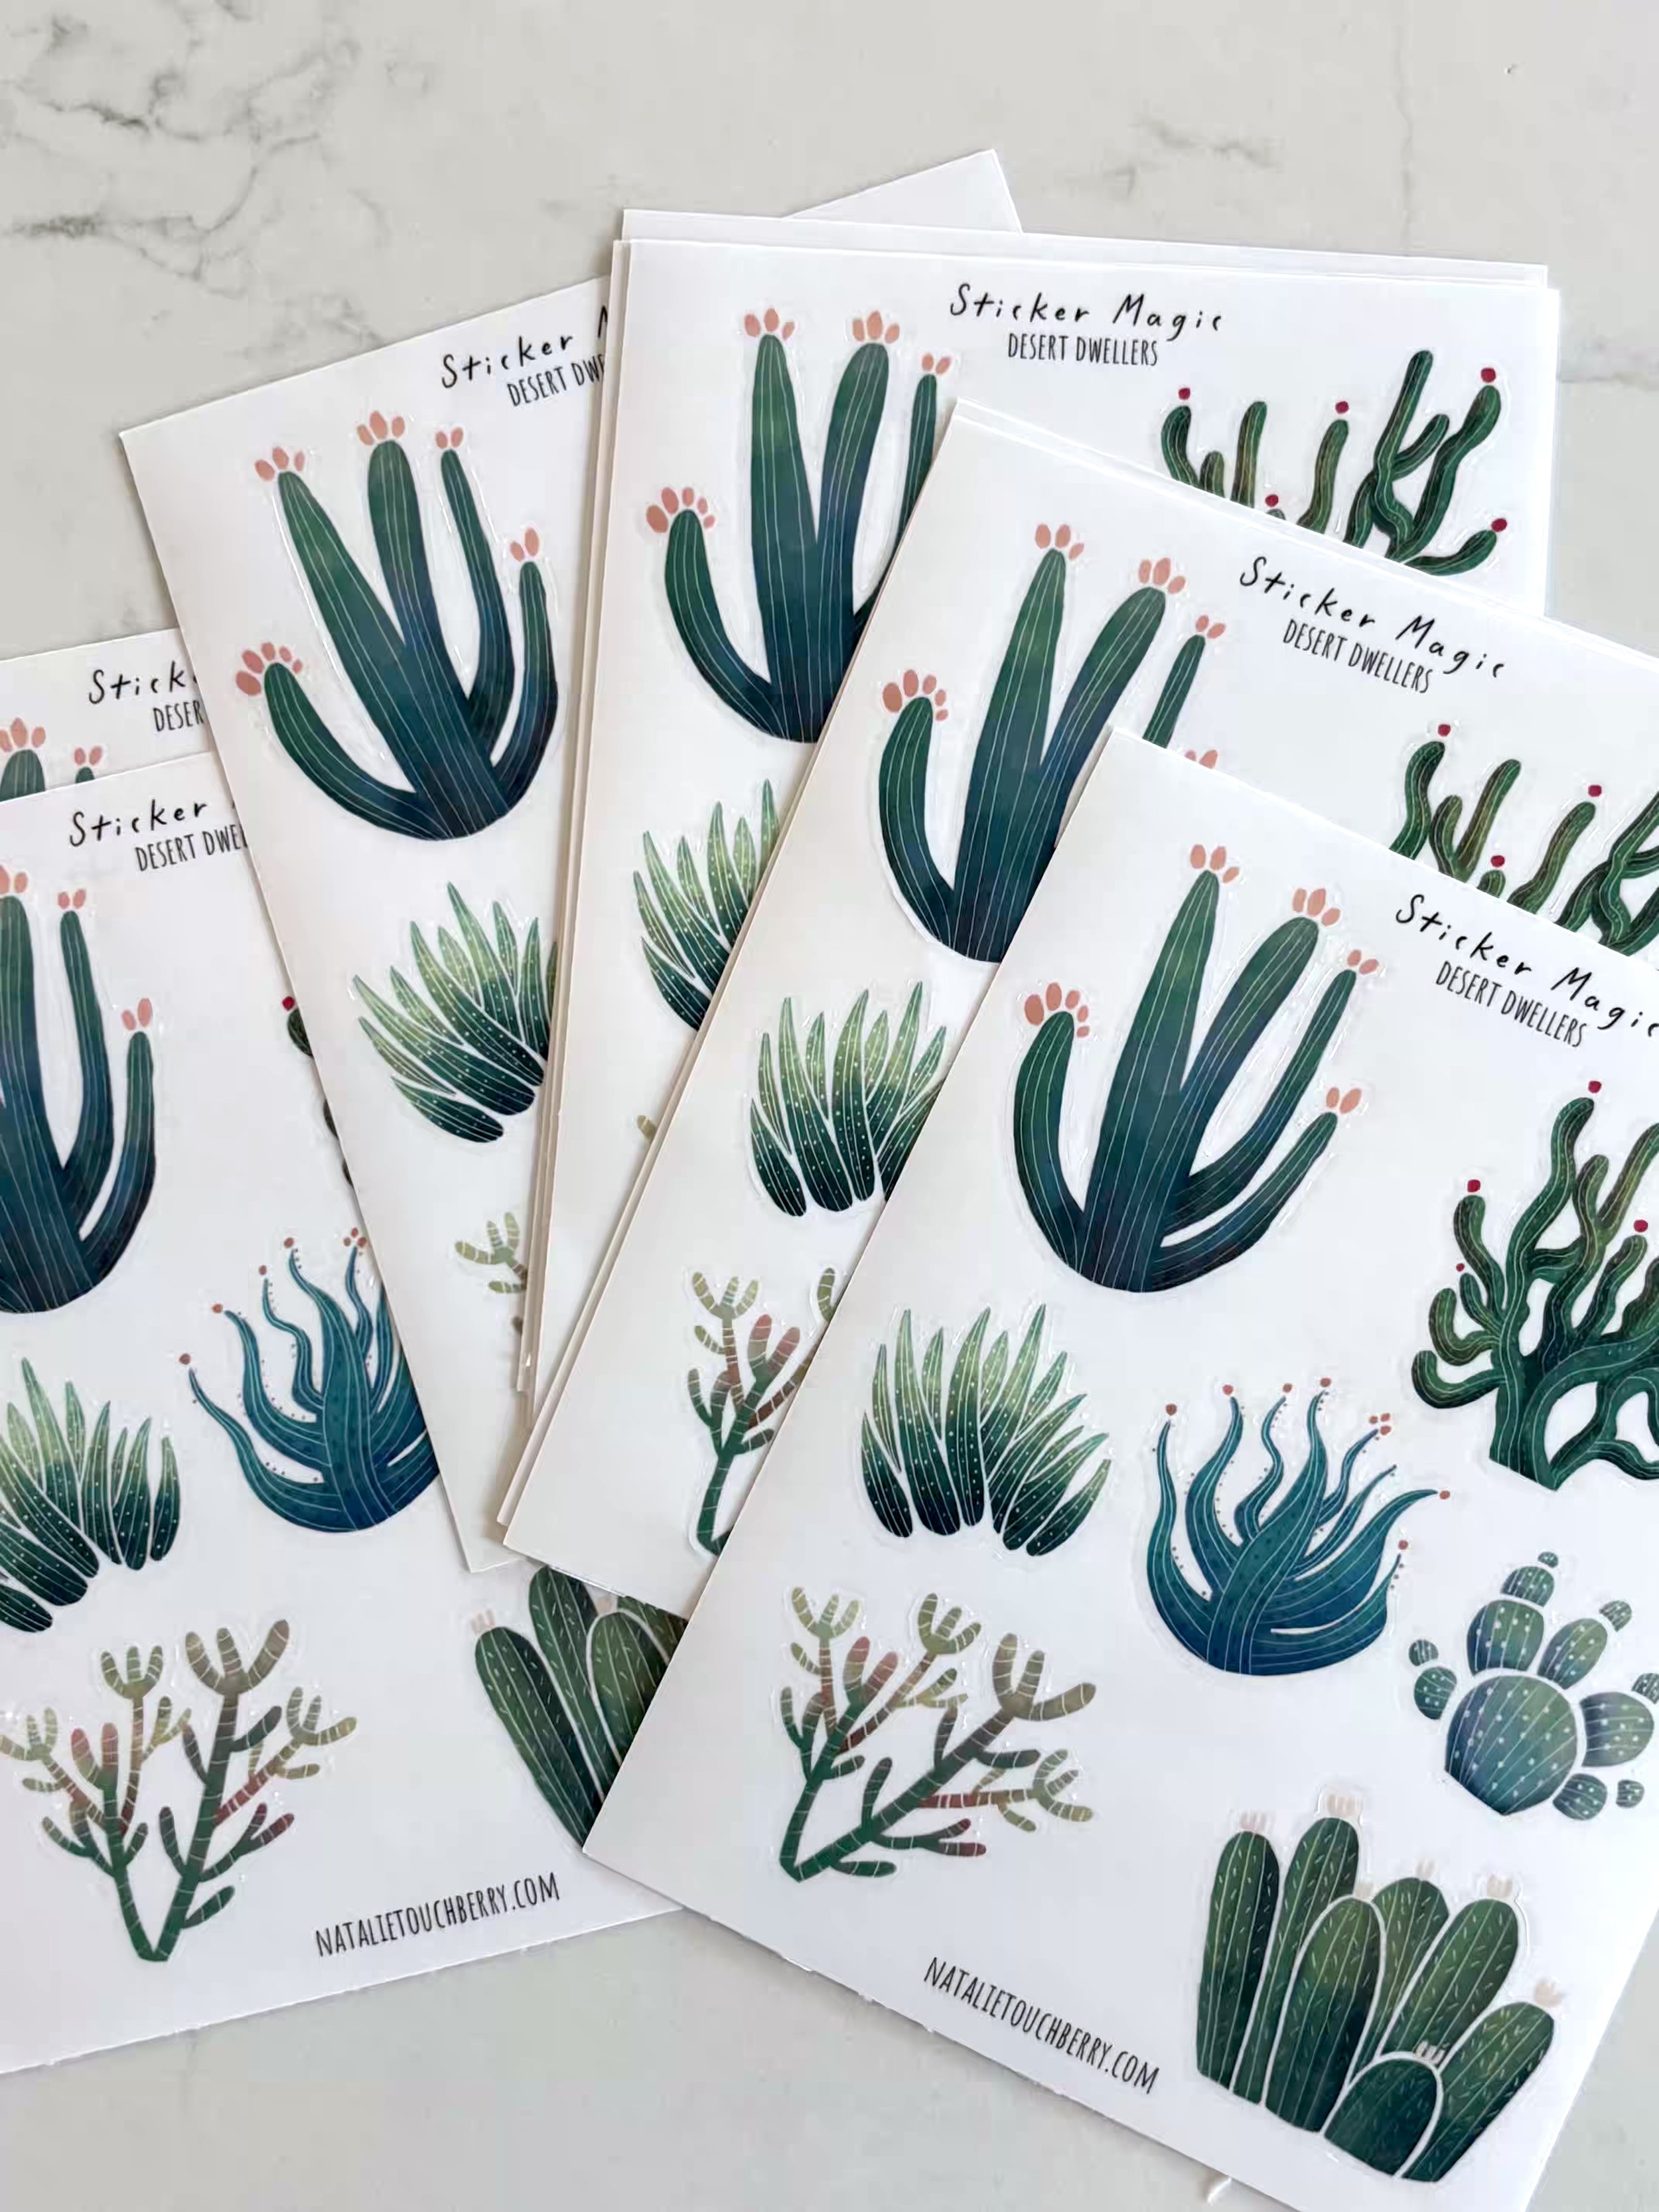
Following the success of my Folk Art collection, these succulents are the next designs to be imagined, produced, and printed 100% by moi.
Here’s a look at how they went from my iPad to my water bottle.
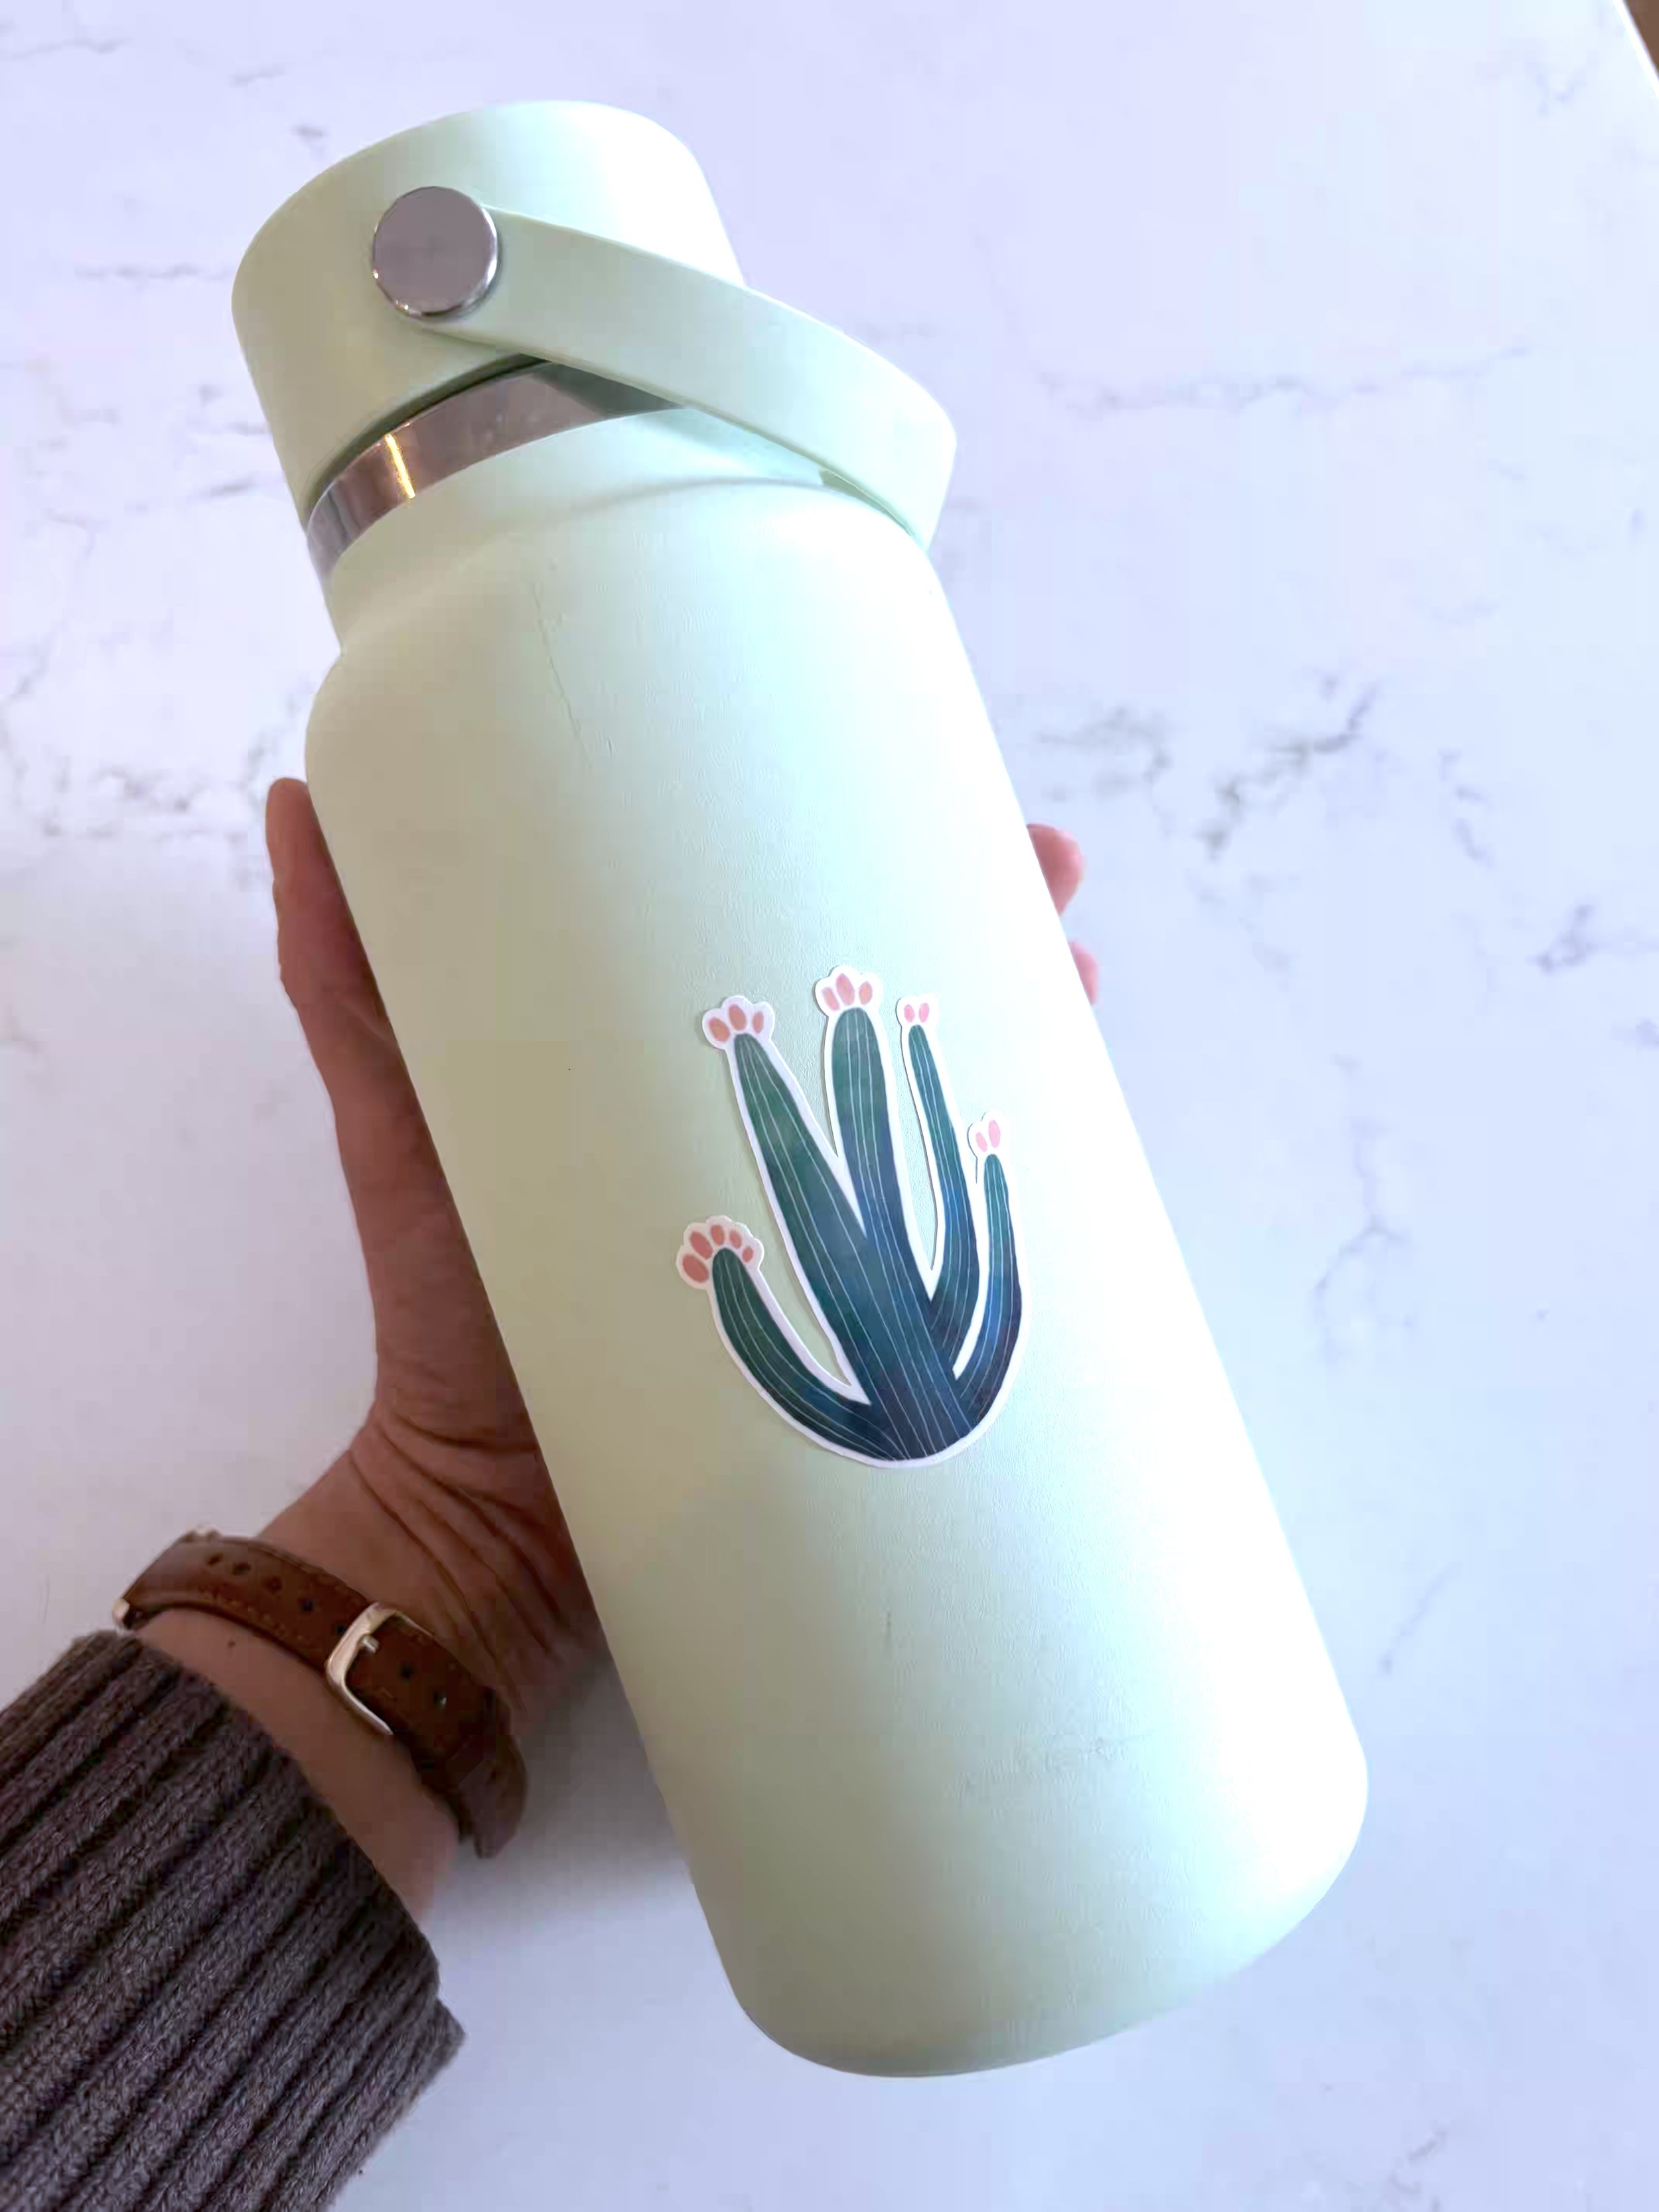
A freshly applied sticker on one of my water bottles.
Gathering Inspiration for My Sticker Sheet
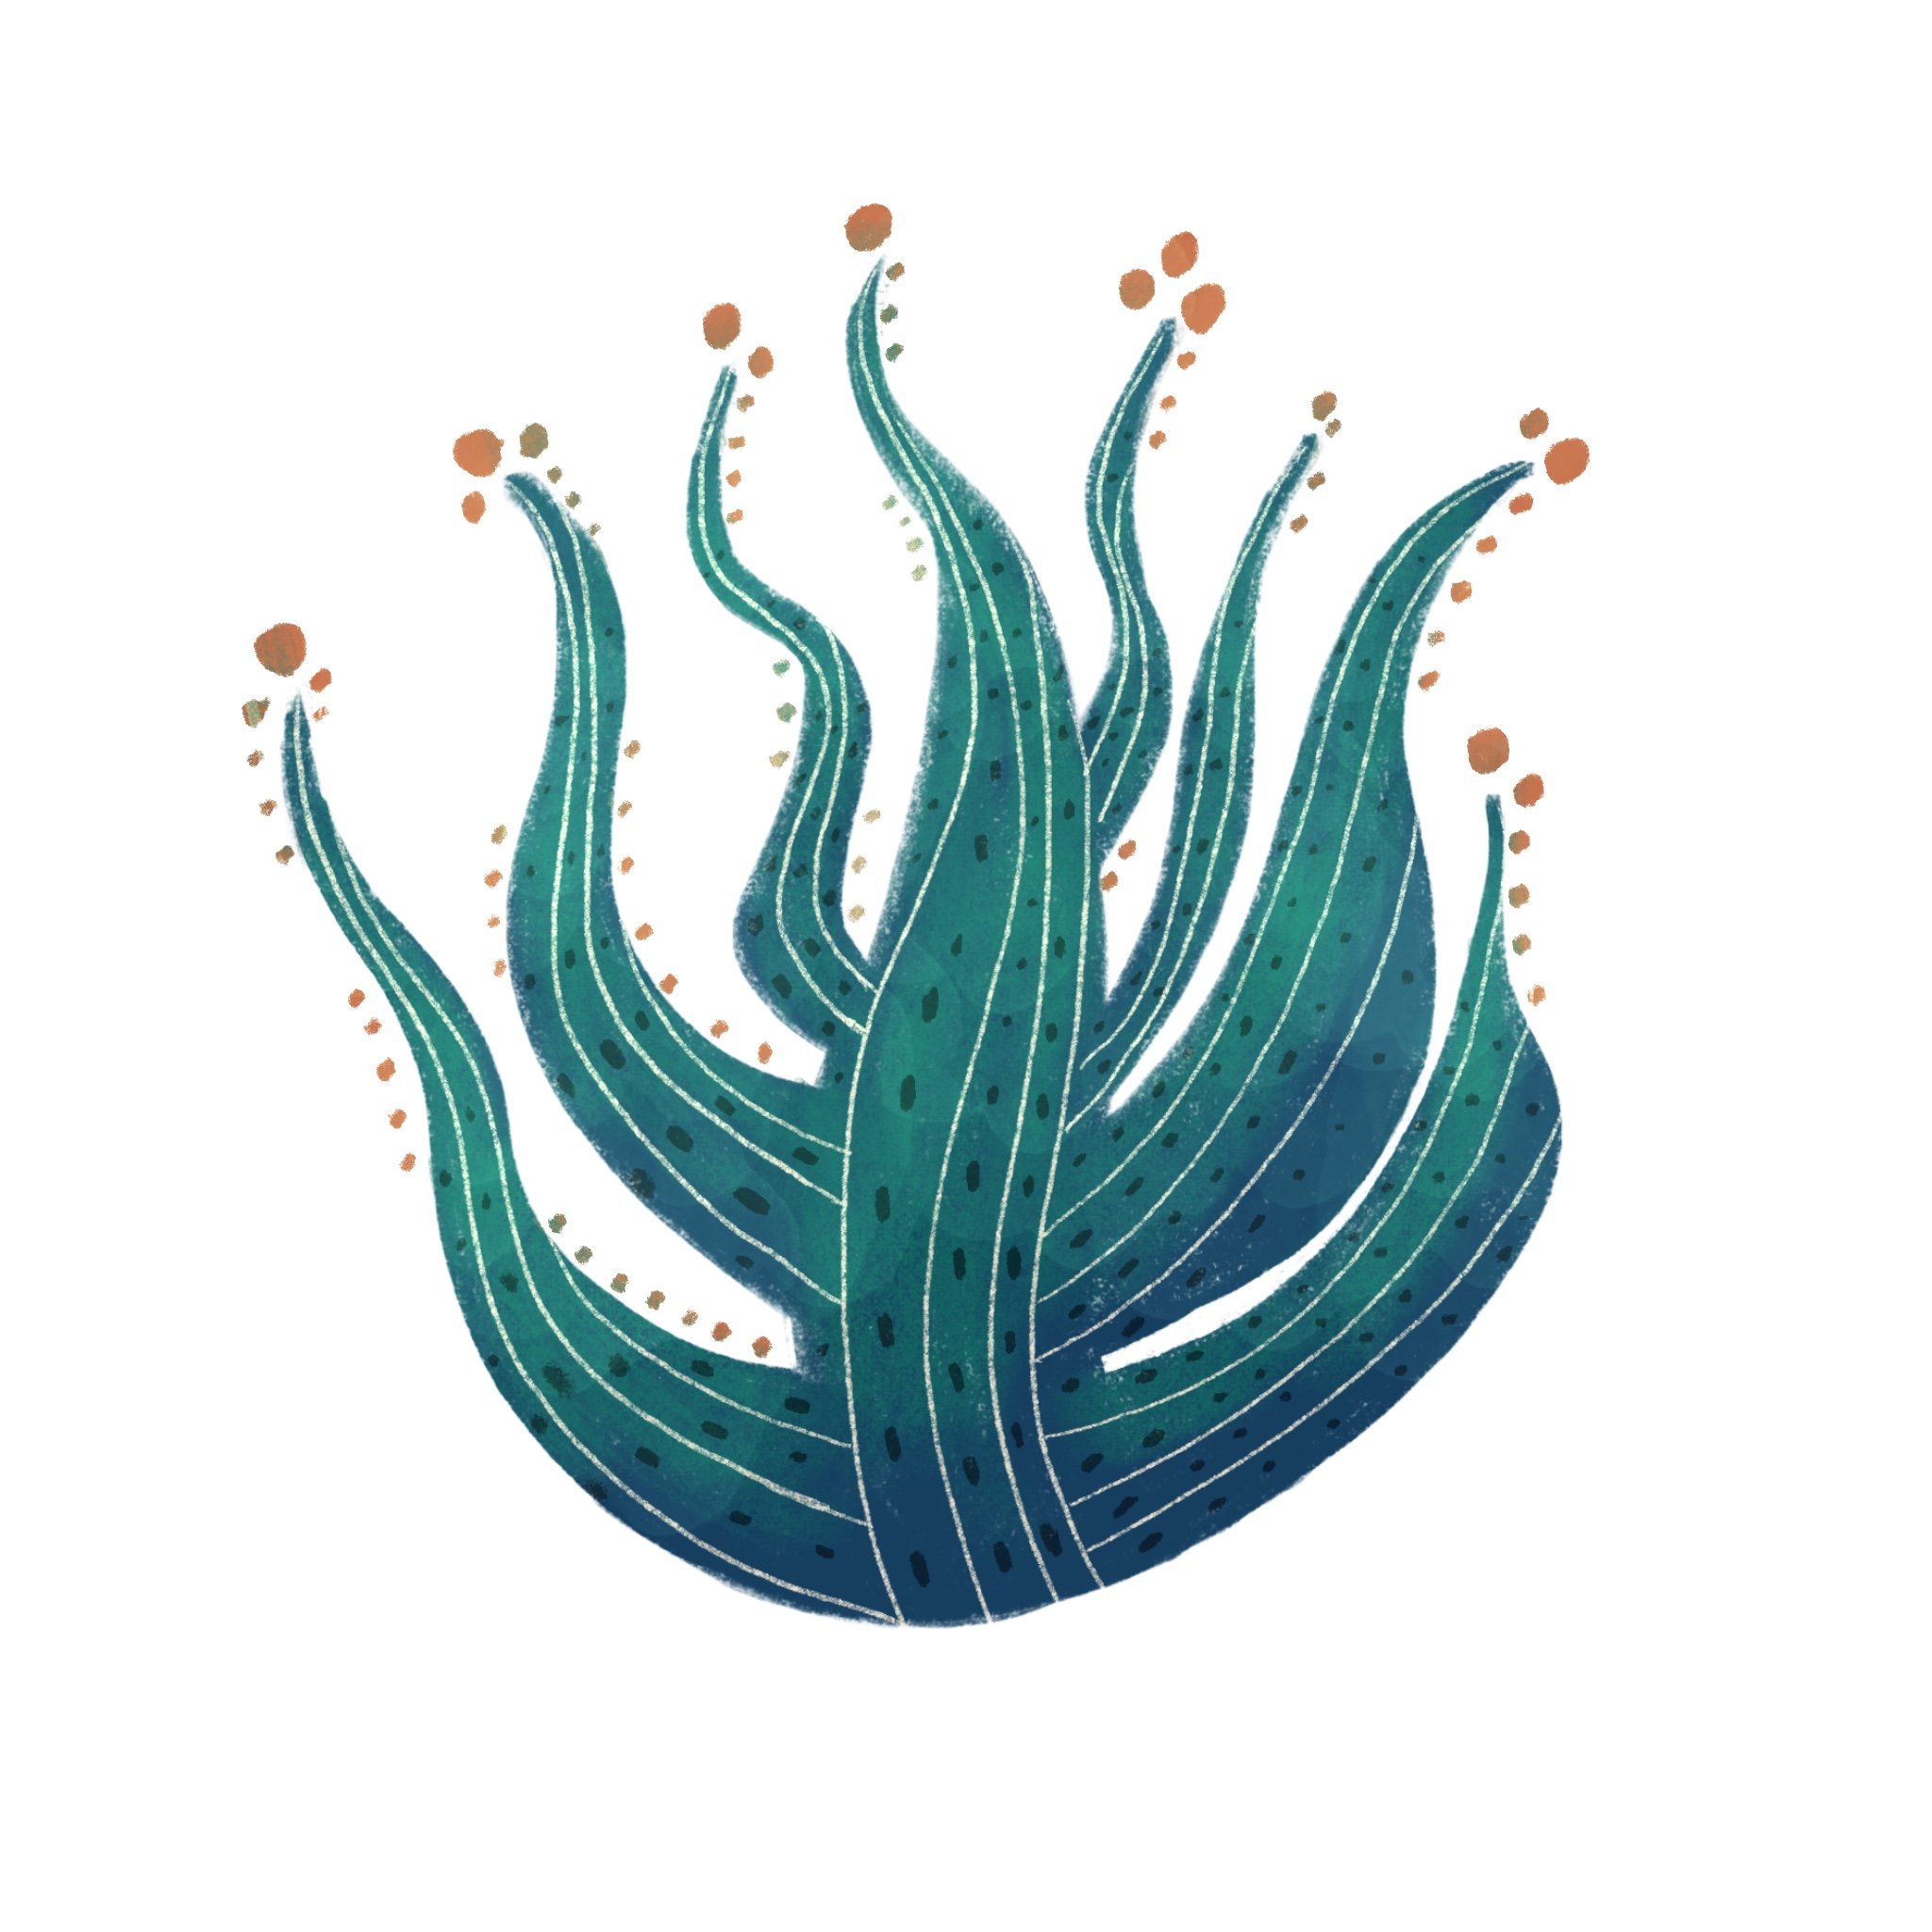
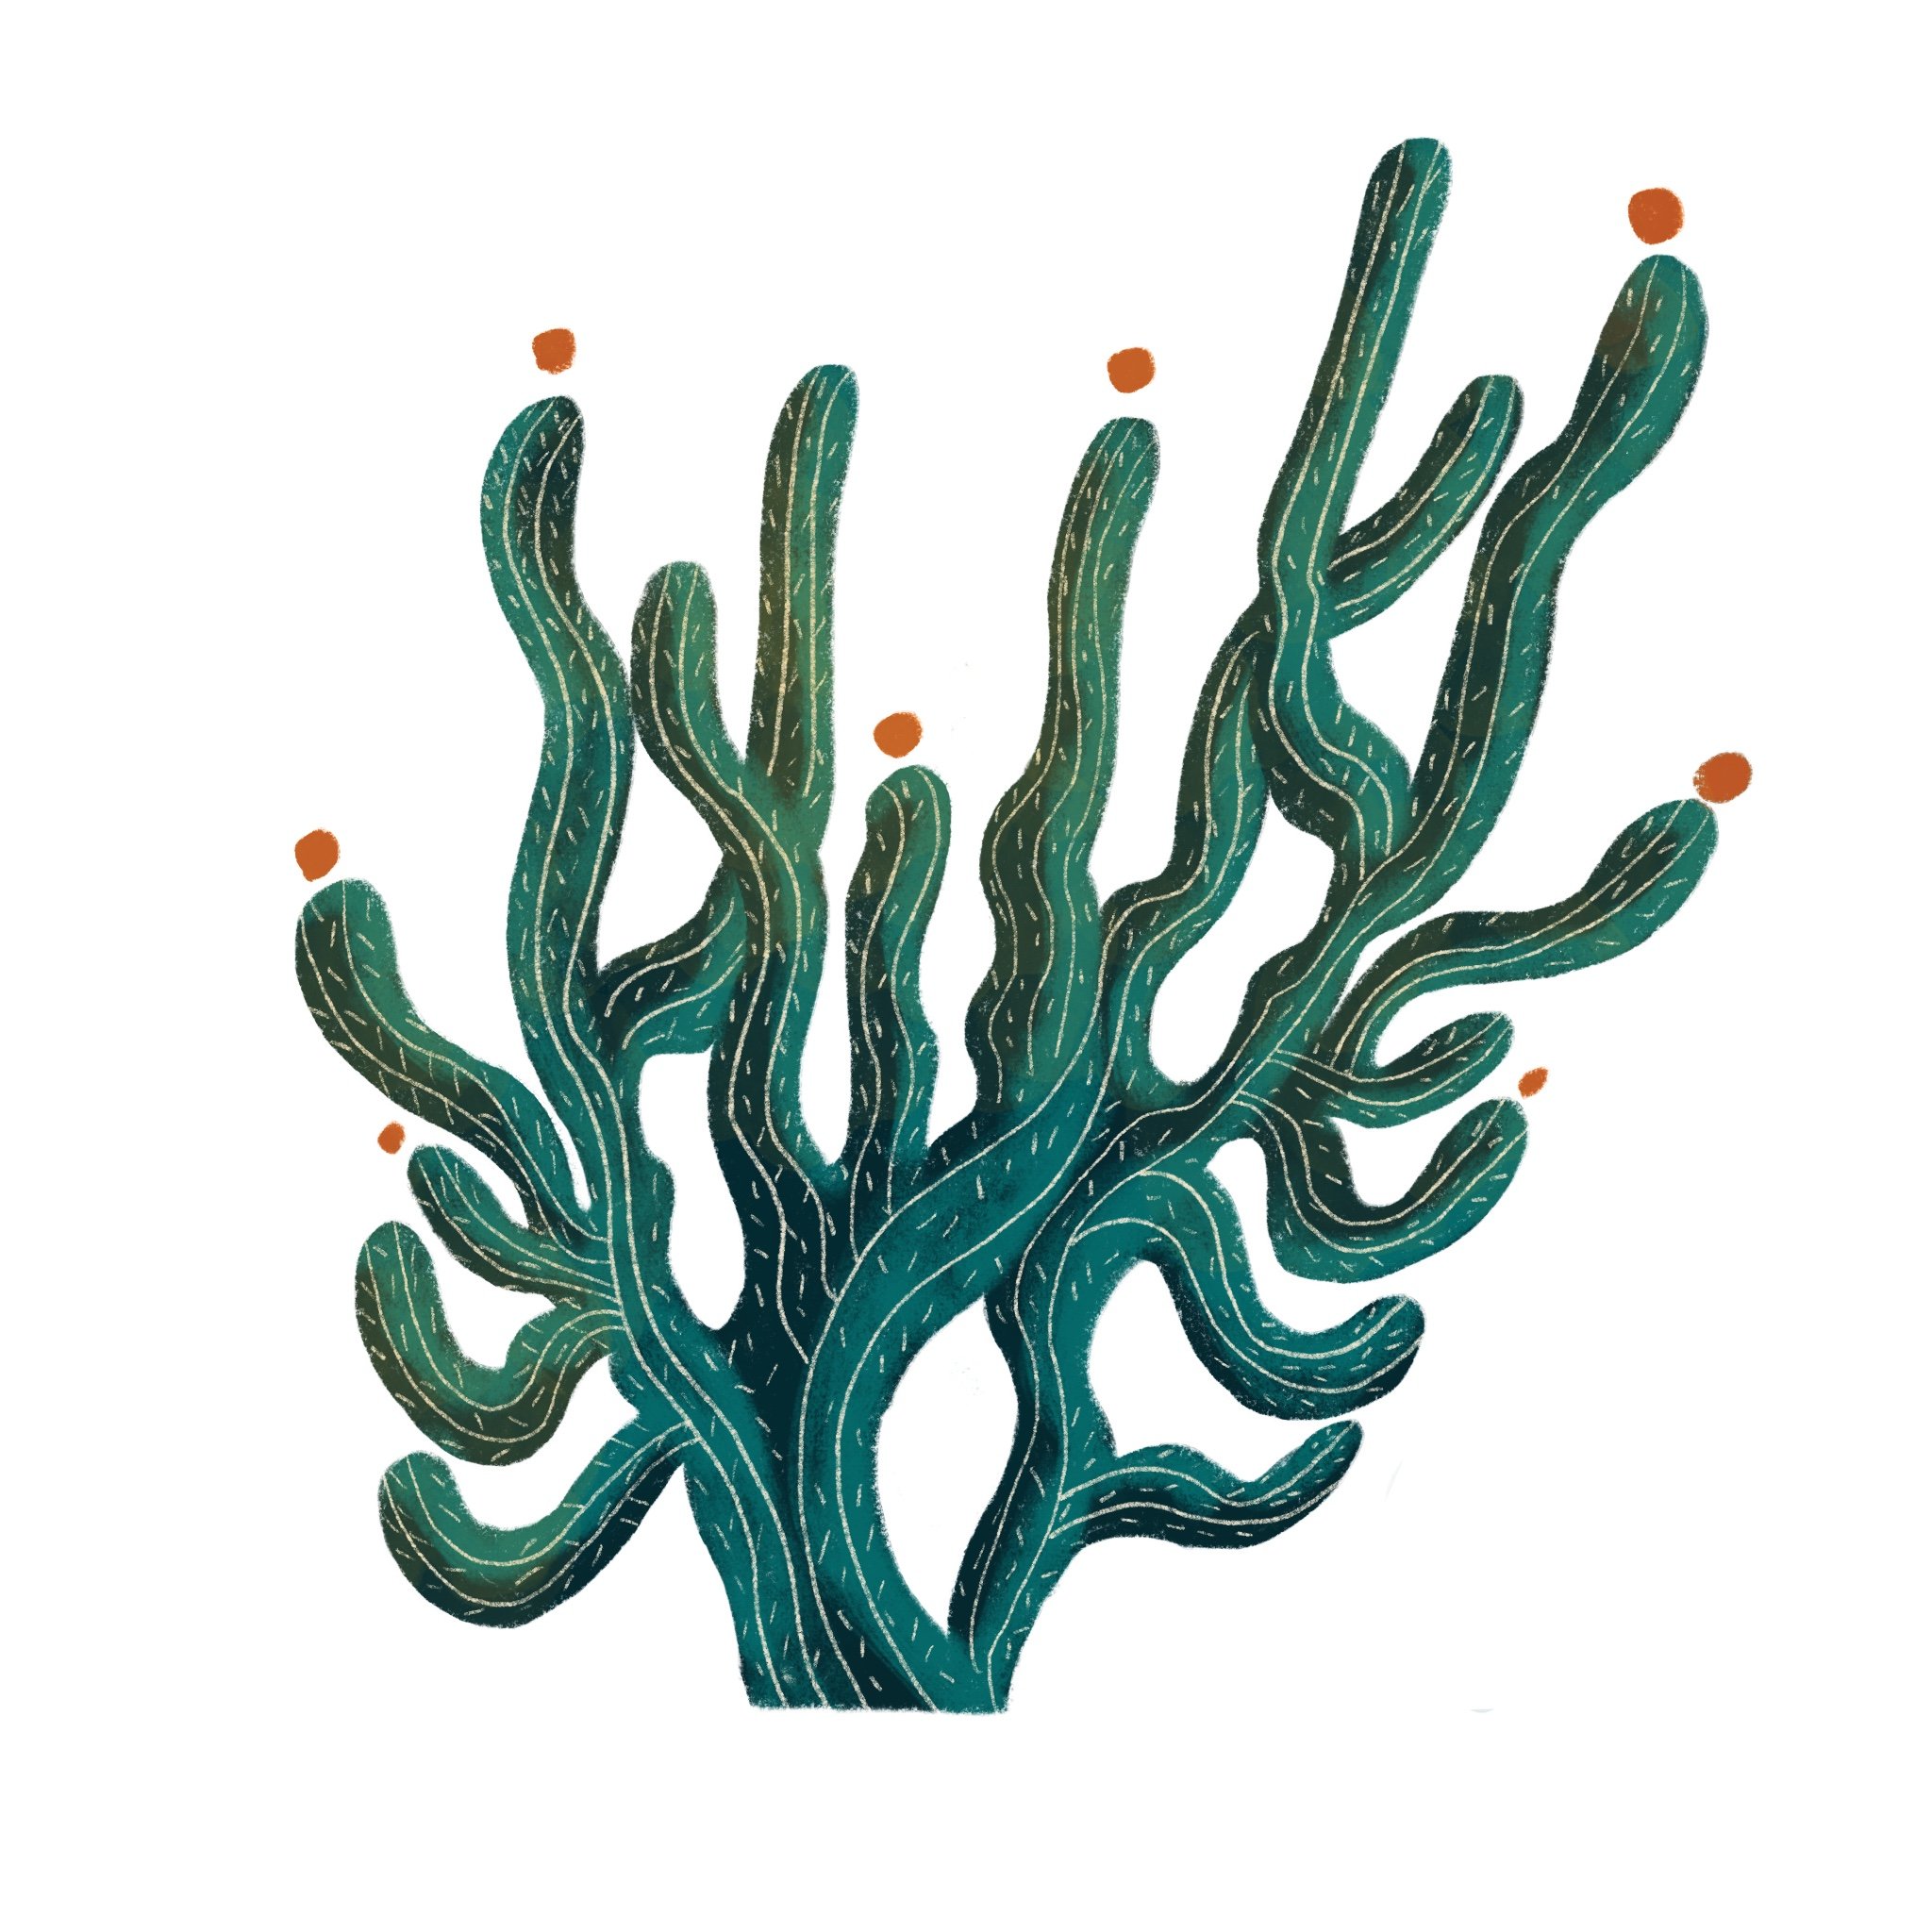
Step one is always collecting inspiration. Usually, I’m deep in a Pinterest rabbit hole, but for this project, I actually pulled from my own collection of past cactus drawings.
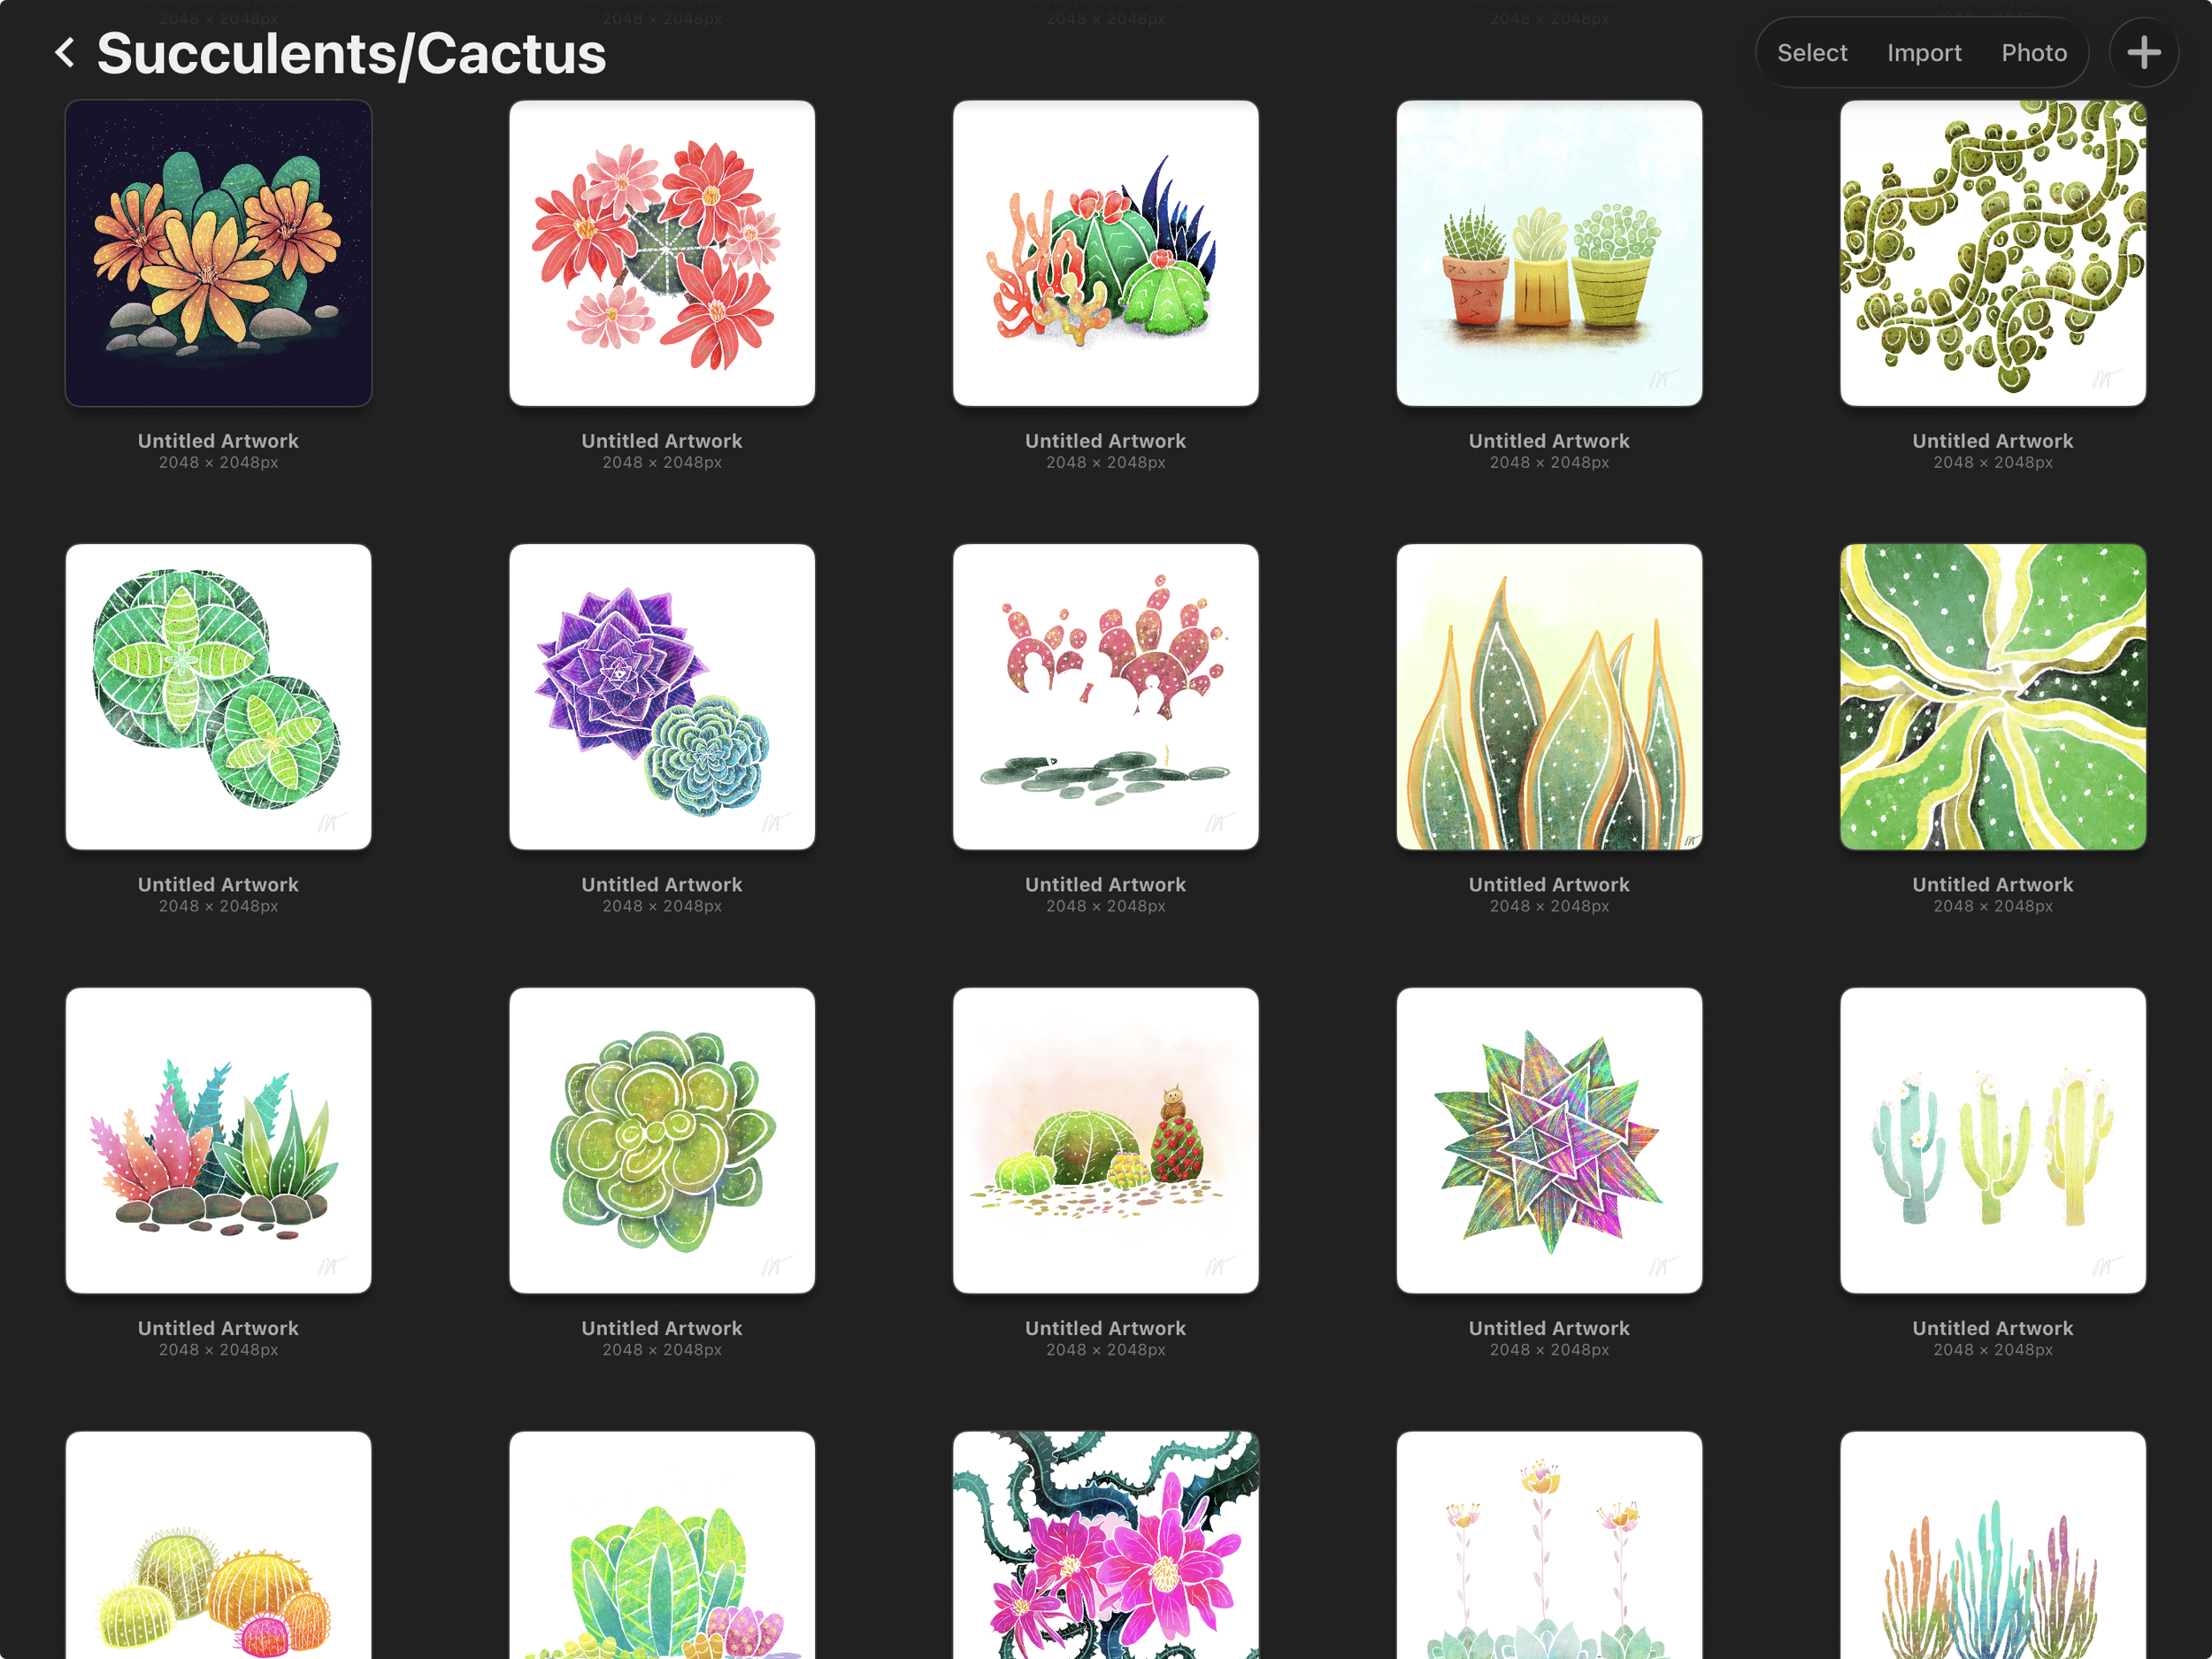
My collection of cactus drawings on my iPad.
Once I had a nice bit of inspiration, I got to my favorite part: sketching!
Digital Sketching in Procreate
I use Procreate for my sketching phase, drawing lots of variations.
Only a few designs made the cut for my sticker sheet, but I sketched out lots of ideas to eventually turn into full-sized prints or greeting cards.
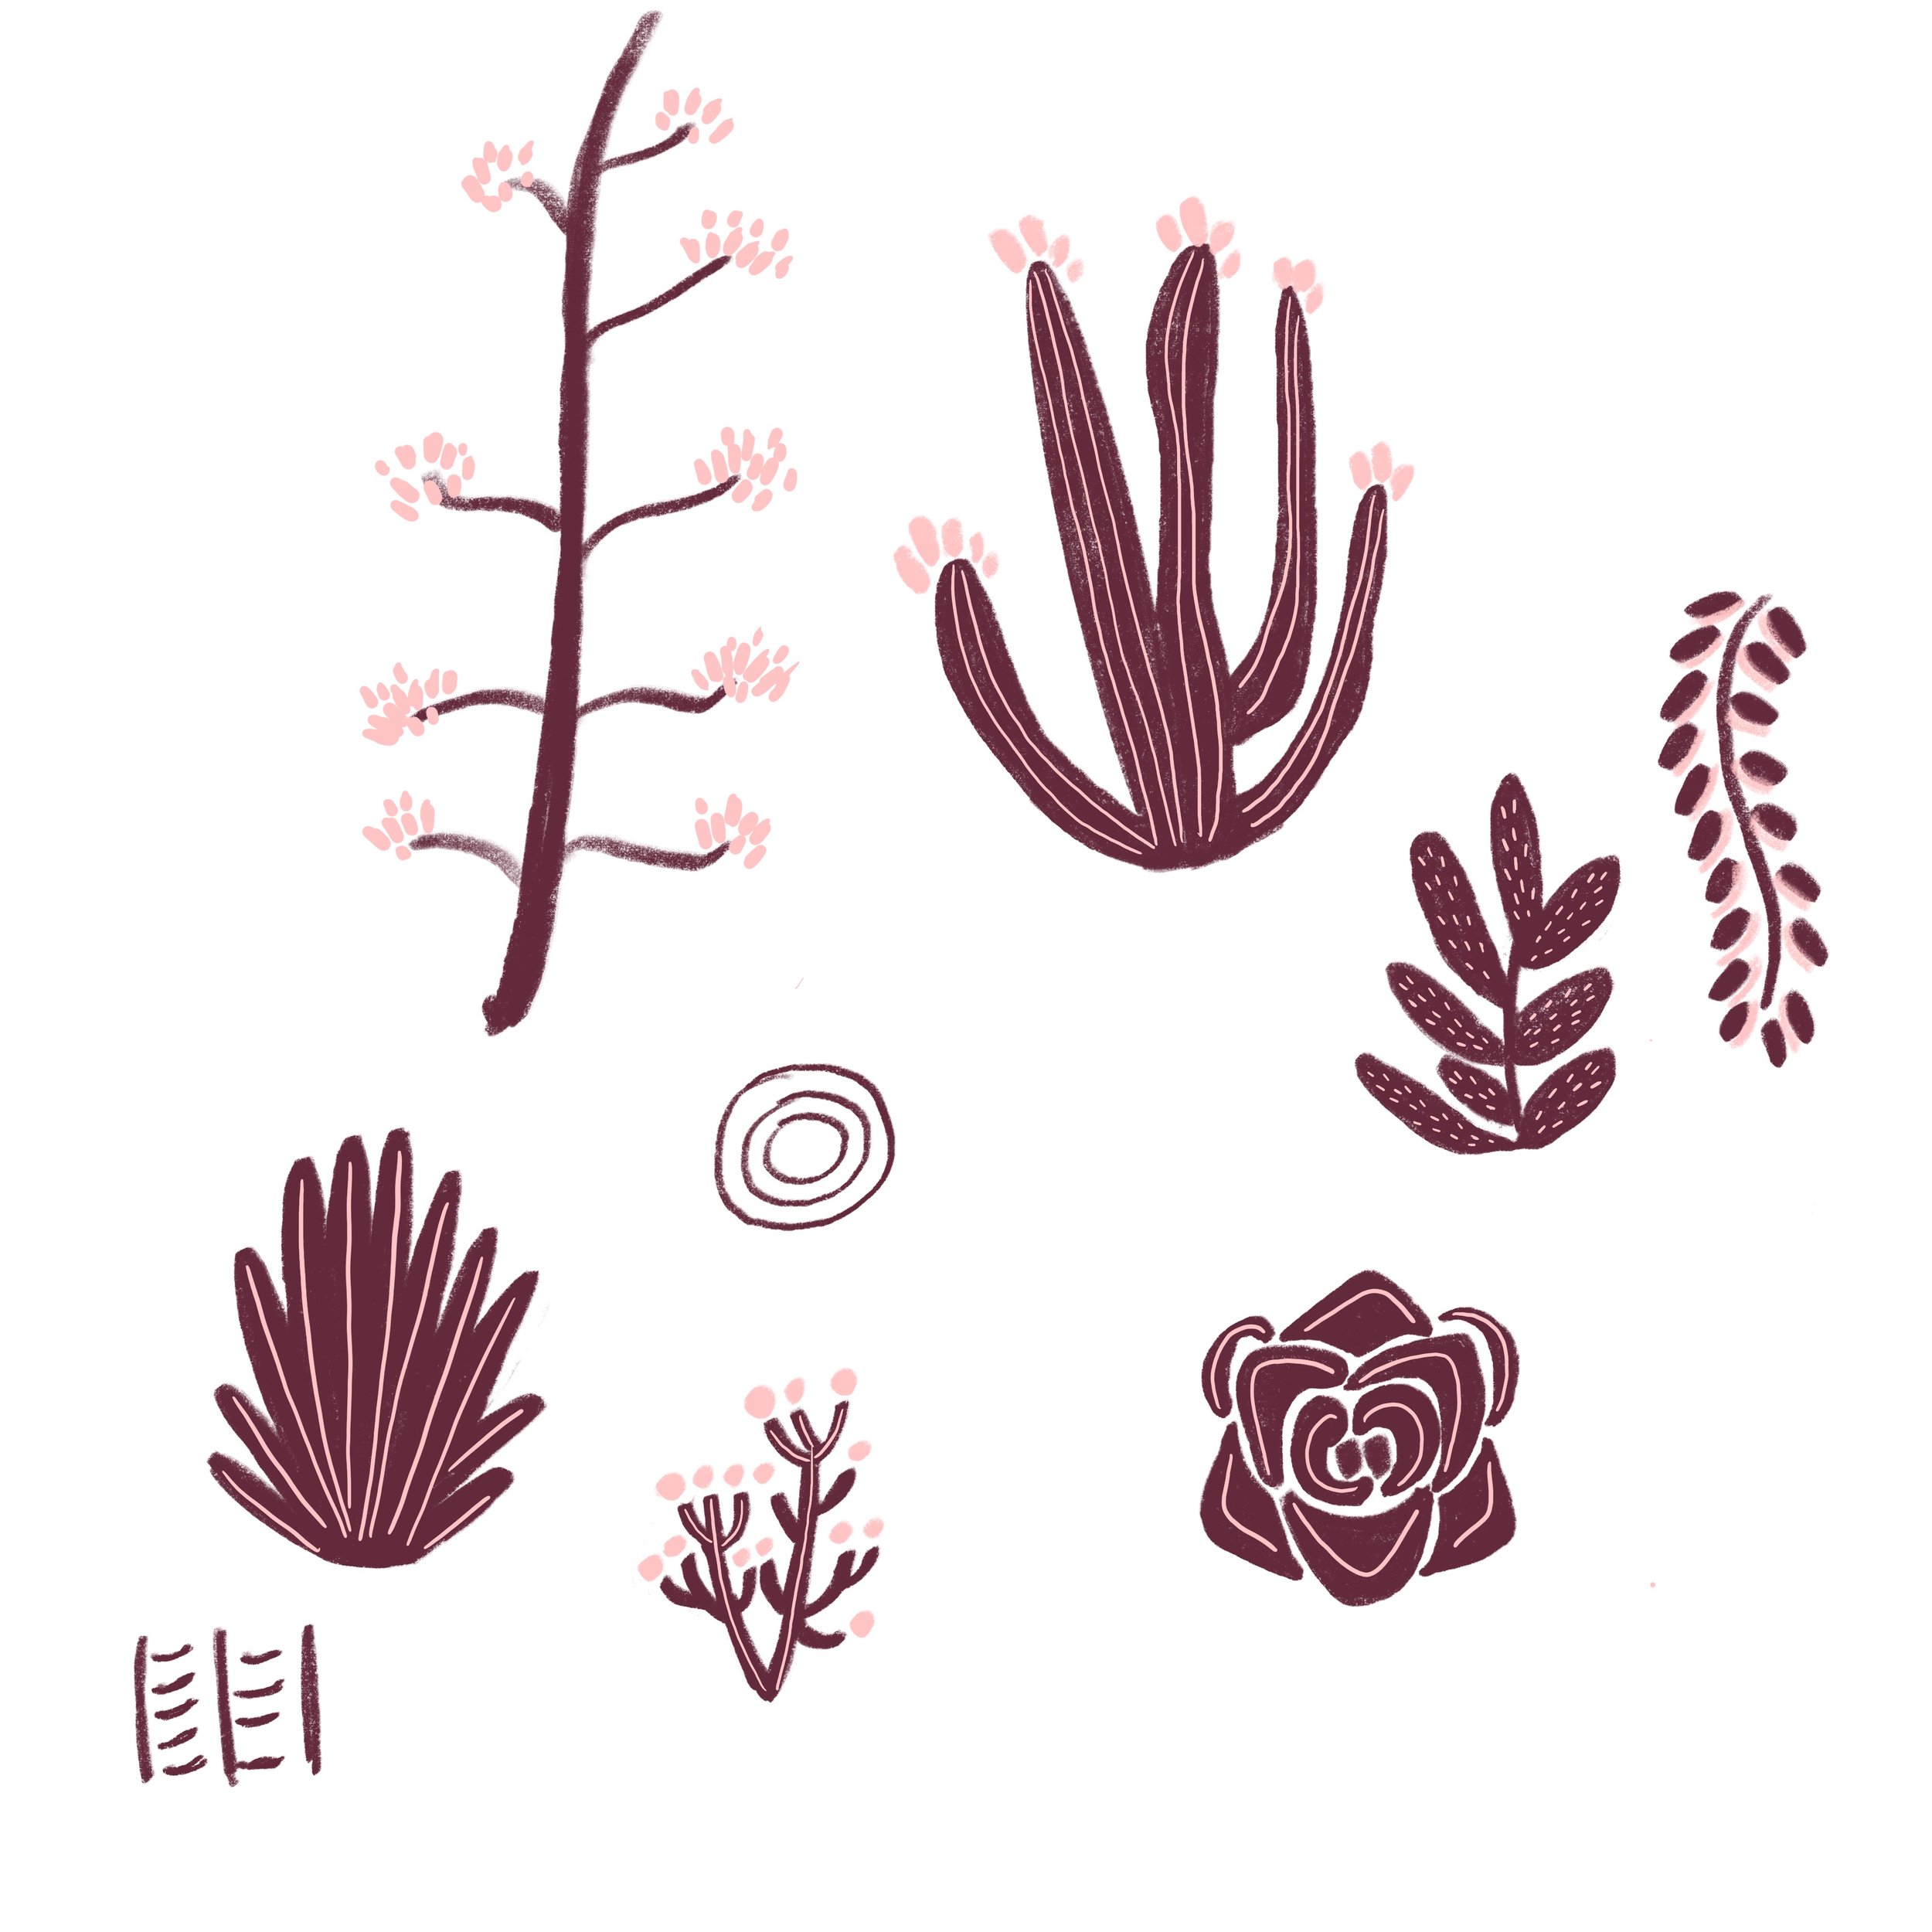
A smattering of some of the designs I sketched and colored.
Once I selected the final designs, I settled on a color palette and painted them in.
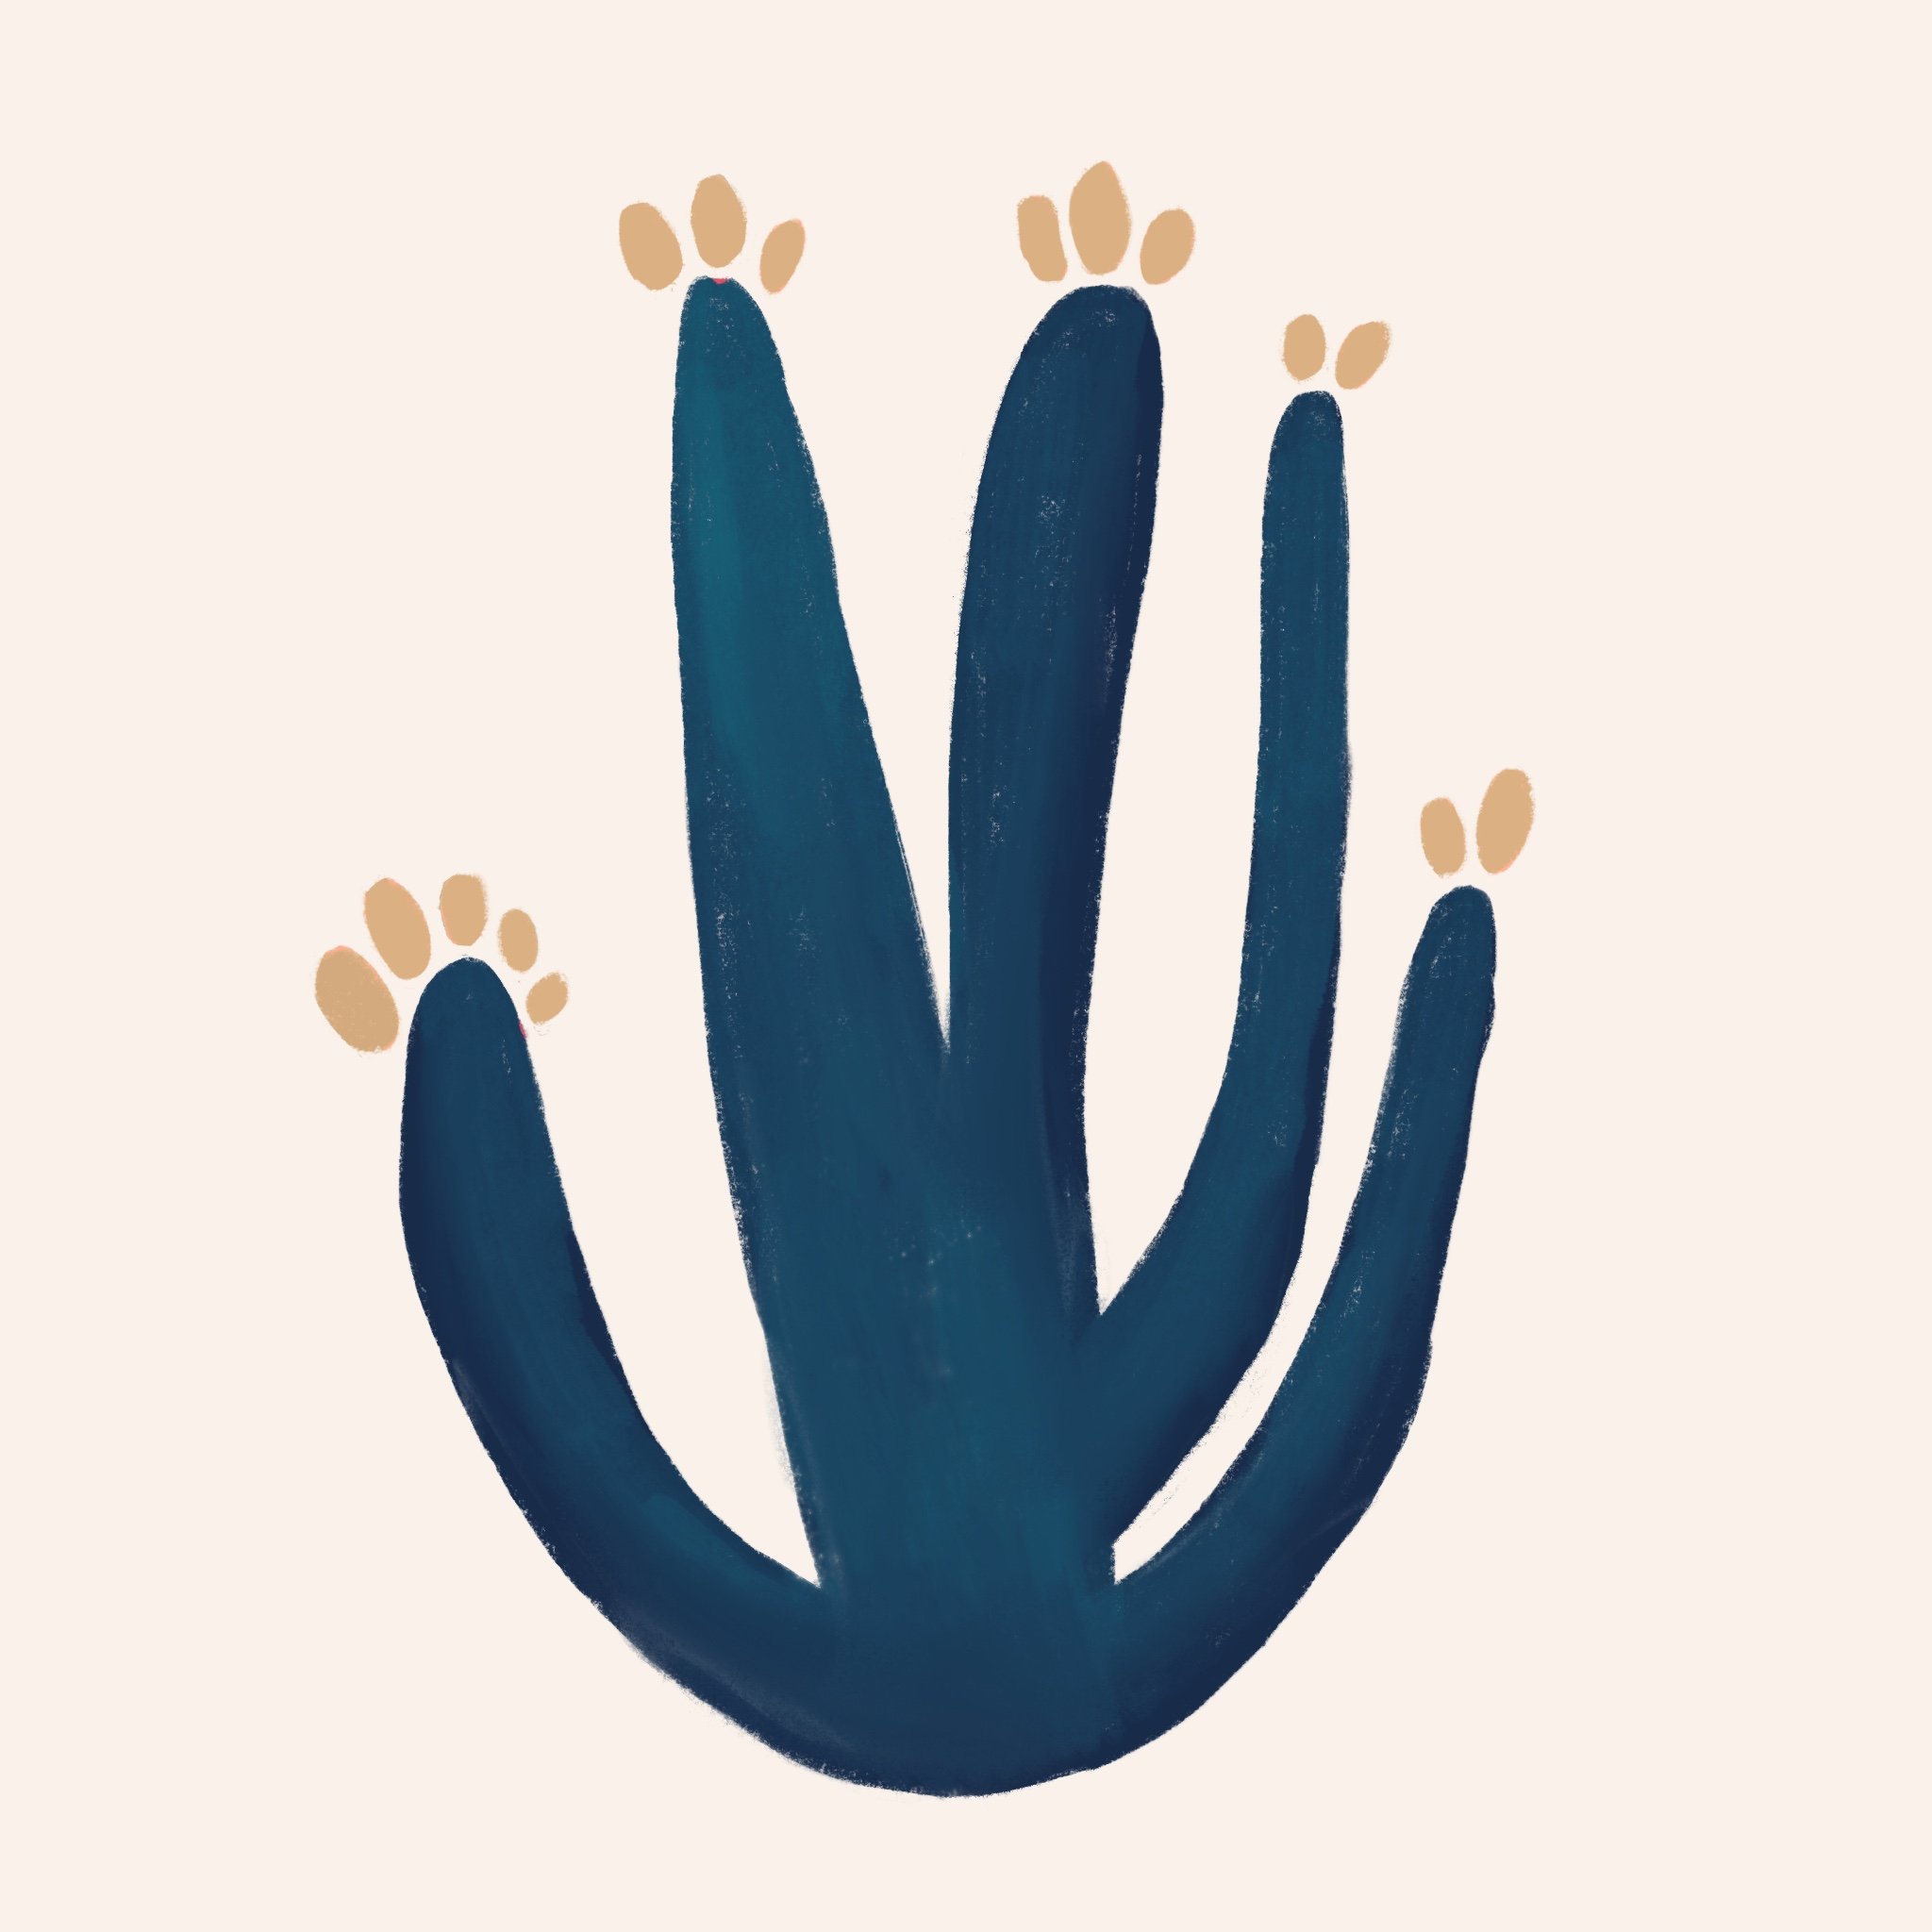


Then, I added finishing touches.
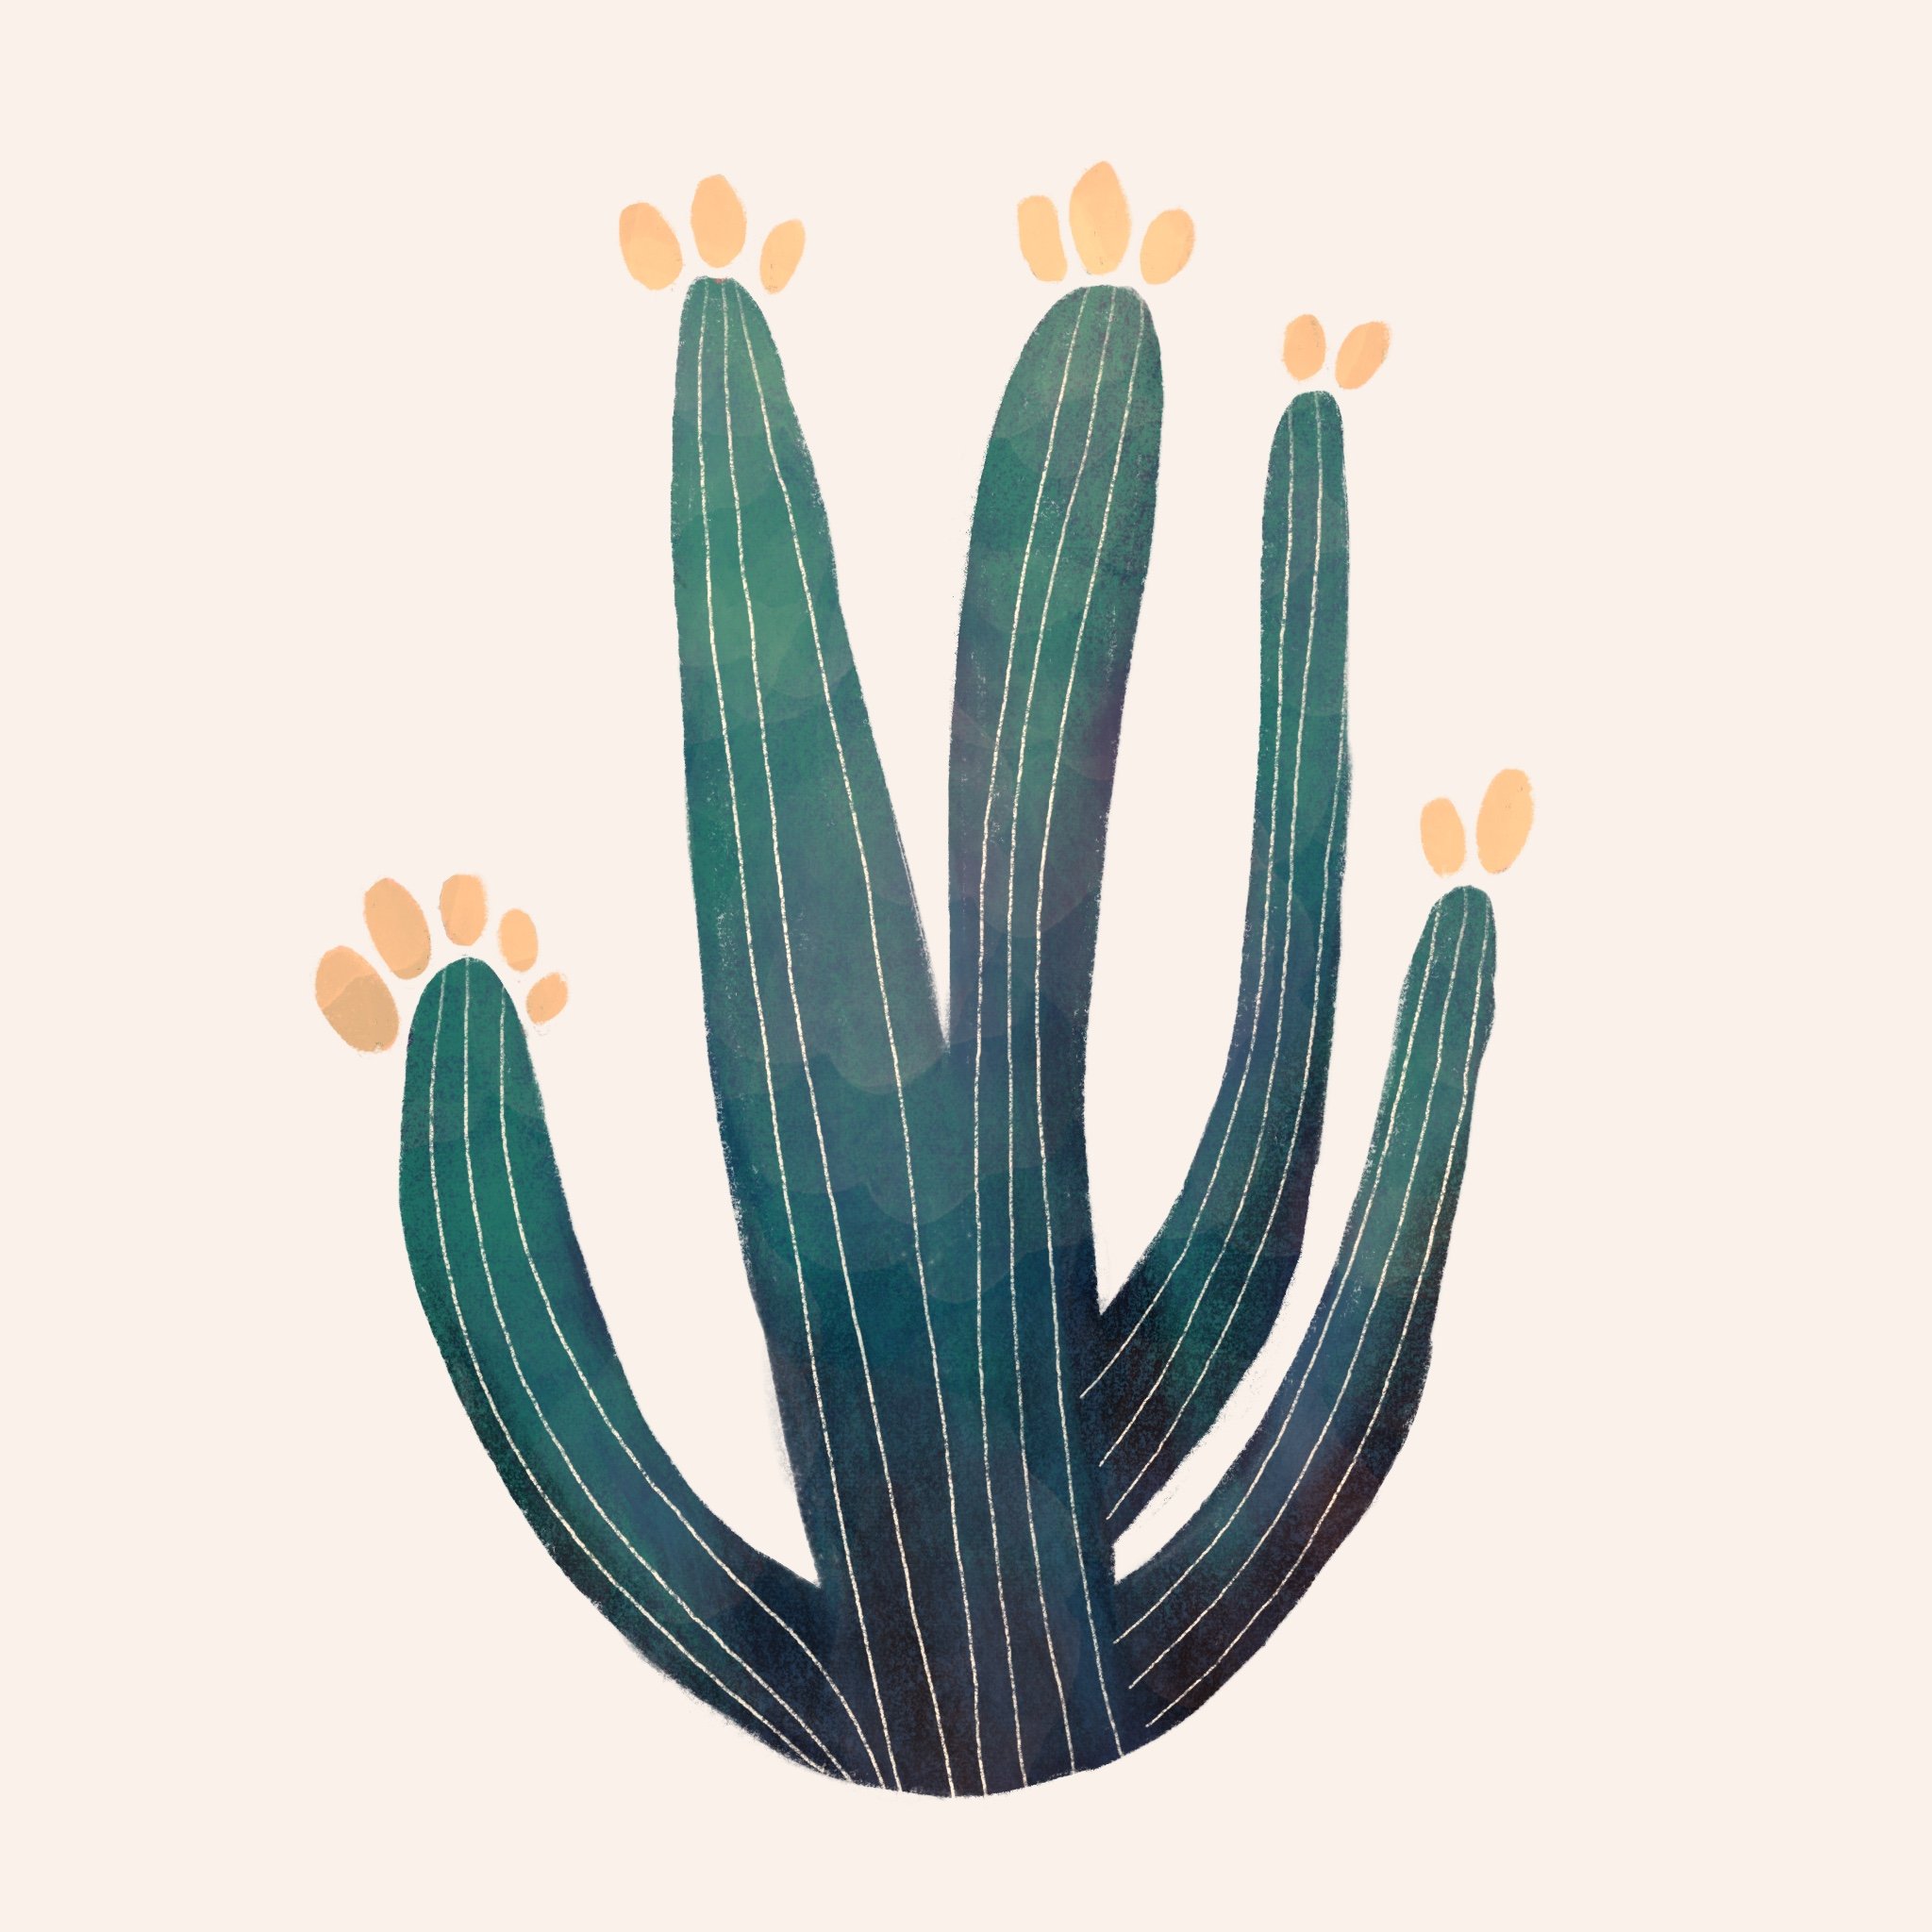
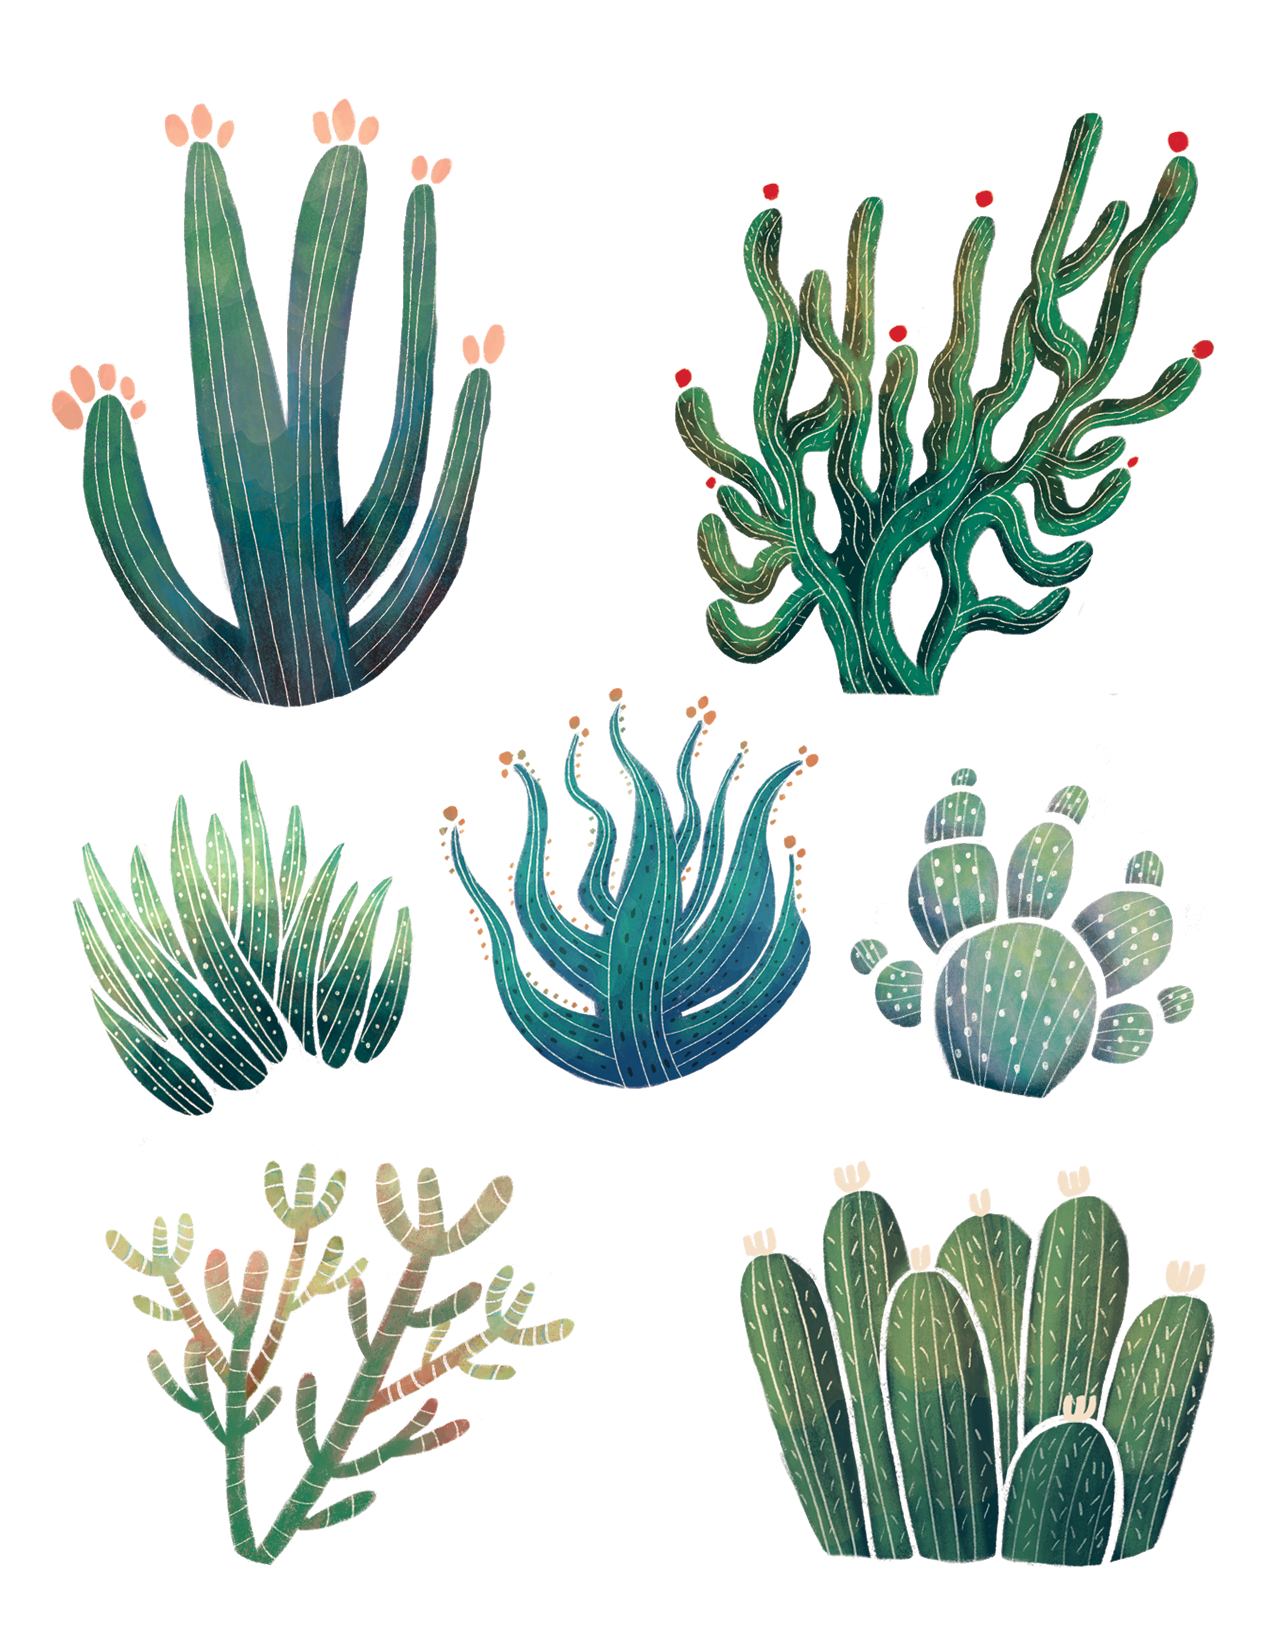
The finished selection, ready for production!
Printing and Cutting Vinyl Stickers with Siser Juliet
Finalizing for print always takes longer than I imagine because I forget about the "Color Correction Boss Battle." After exporting from Procreate, I move the files into Photoshop, and the struggle begins.
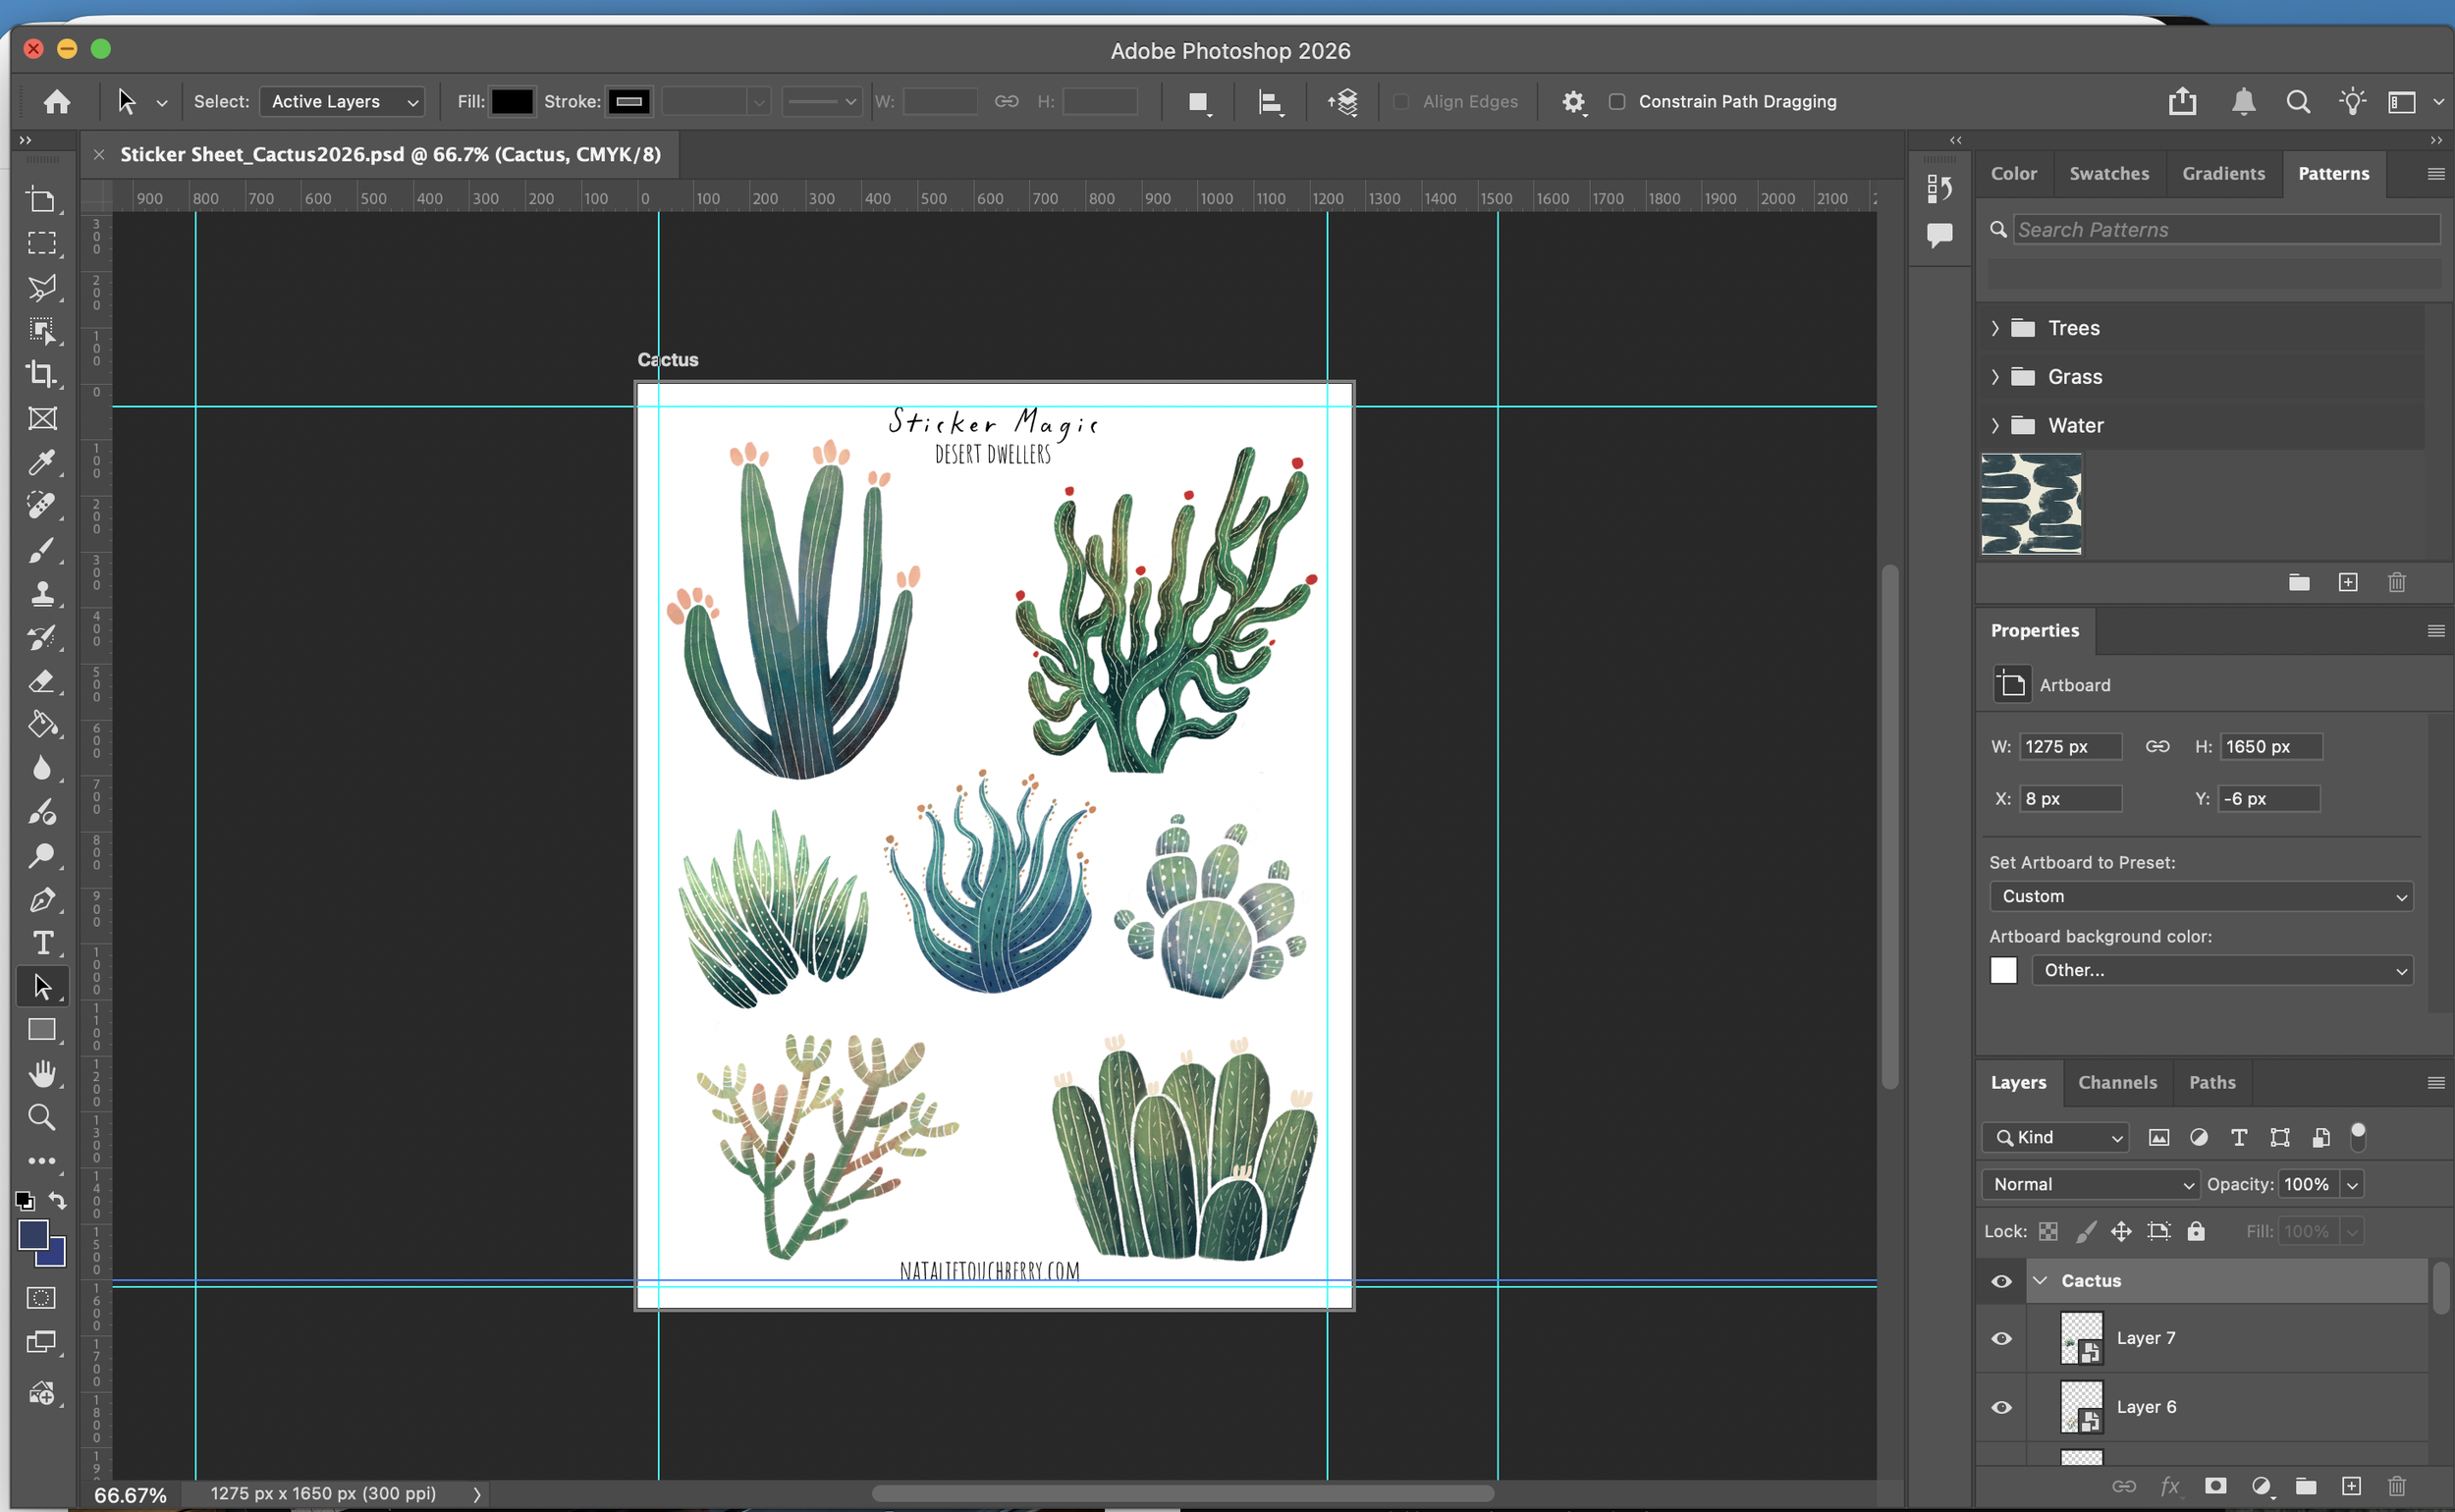
My sticker sheet, laid out in Photoshop.
I do a lot of test prints, adjusting hue and saturation over and over until the colors of the paper version match my digital version.
I haven’t found a shortcut for this, it’s just a slow process of print, adjust, repeat. (If anyone has a magic solution for screen-to-printer matching, drop me a line!)
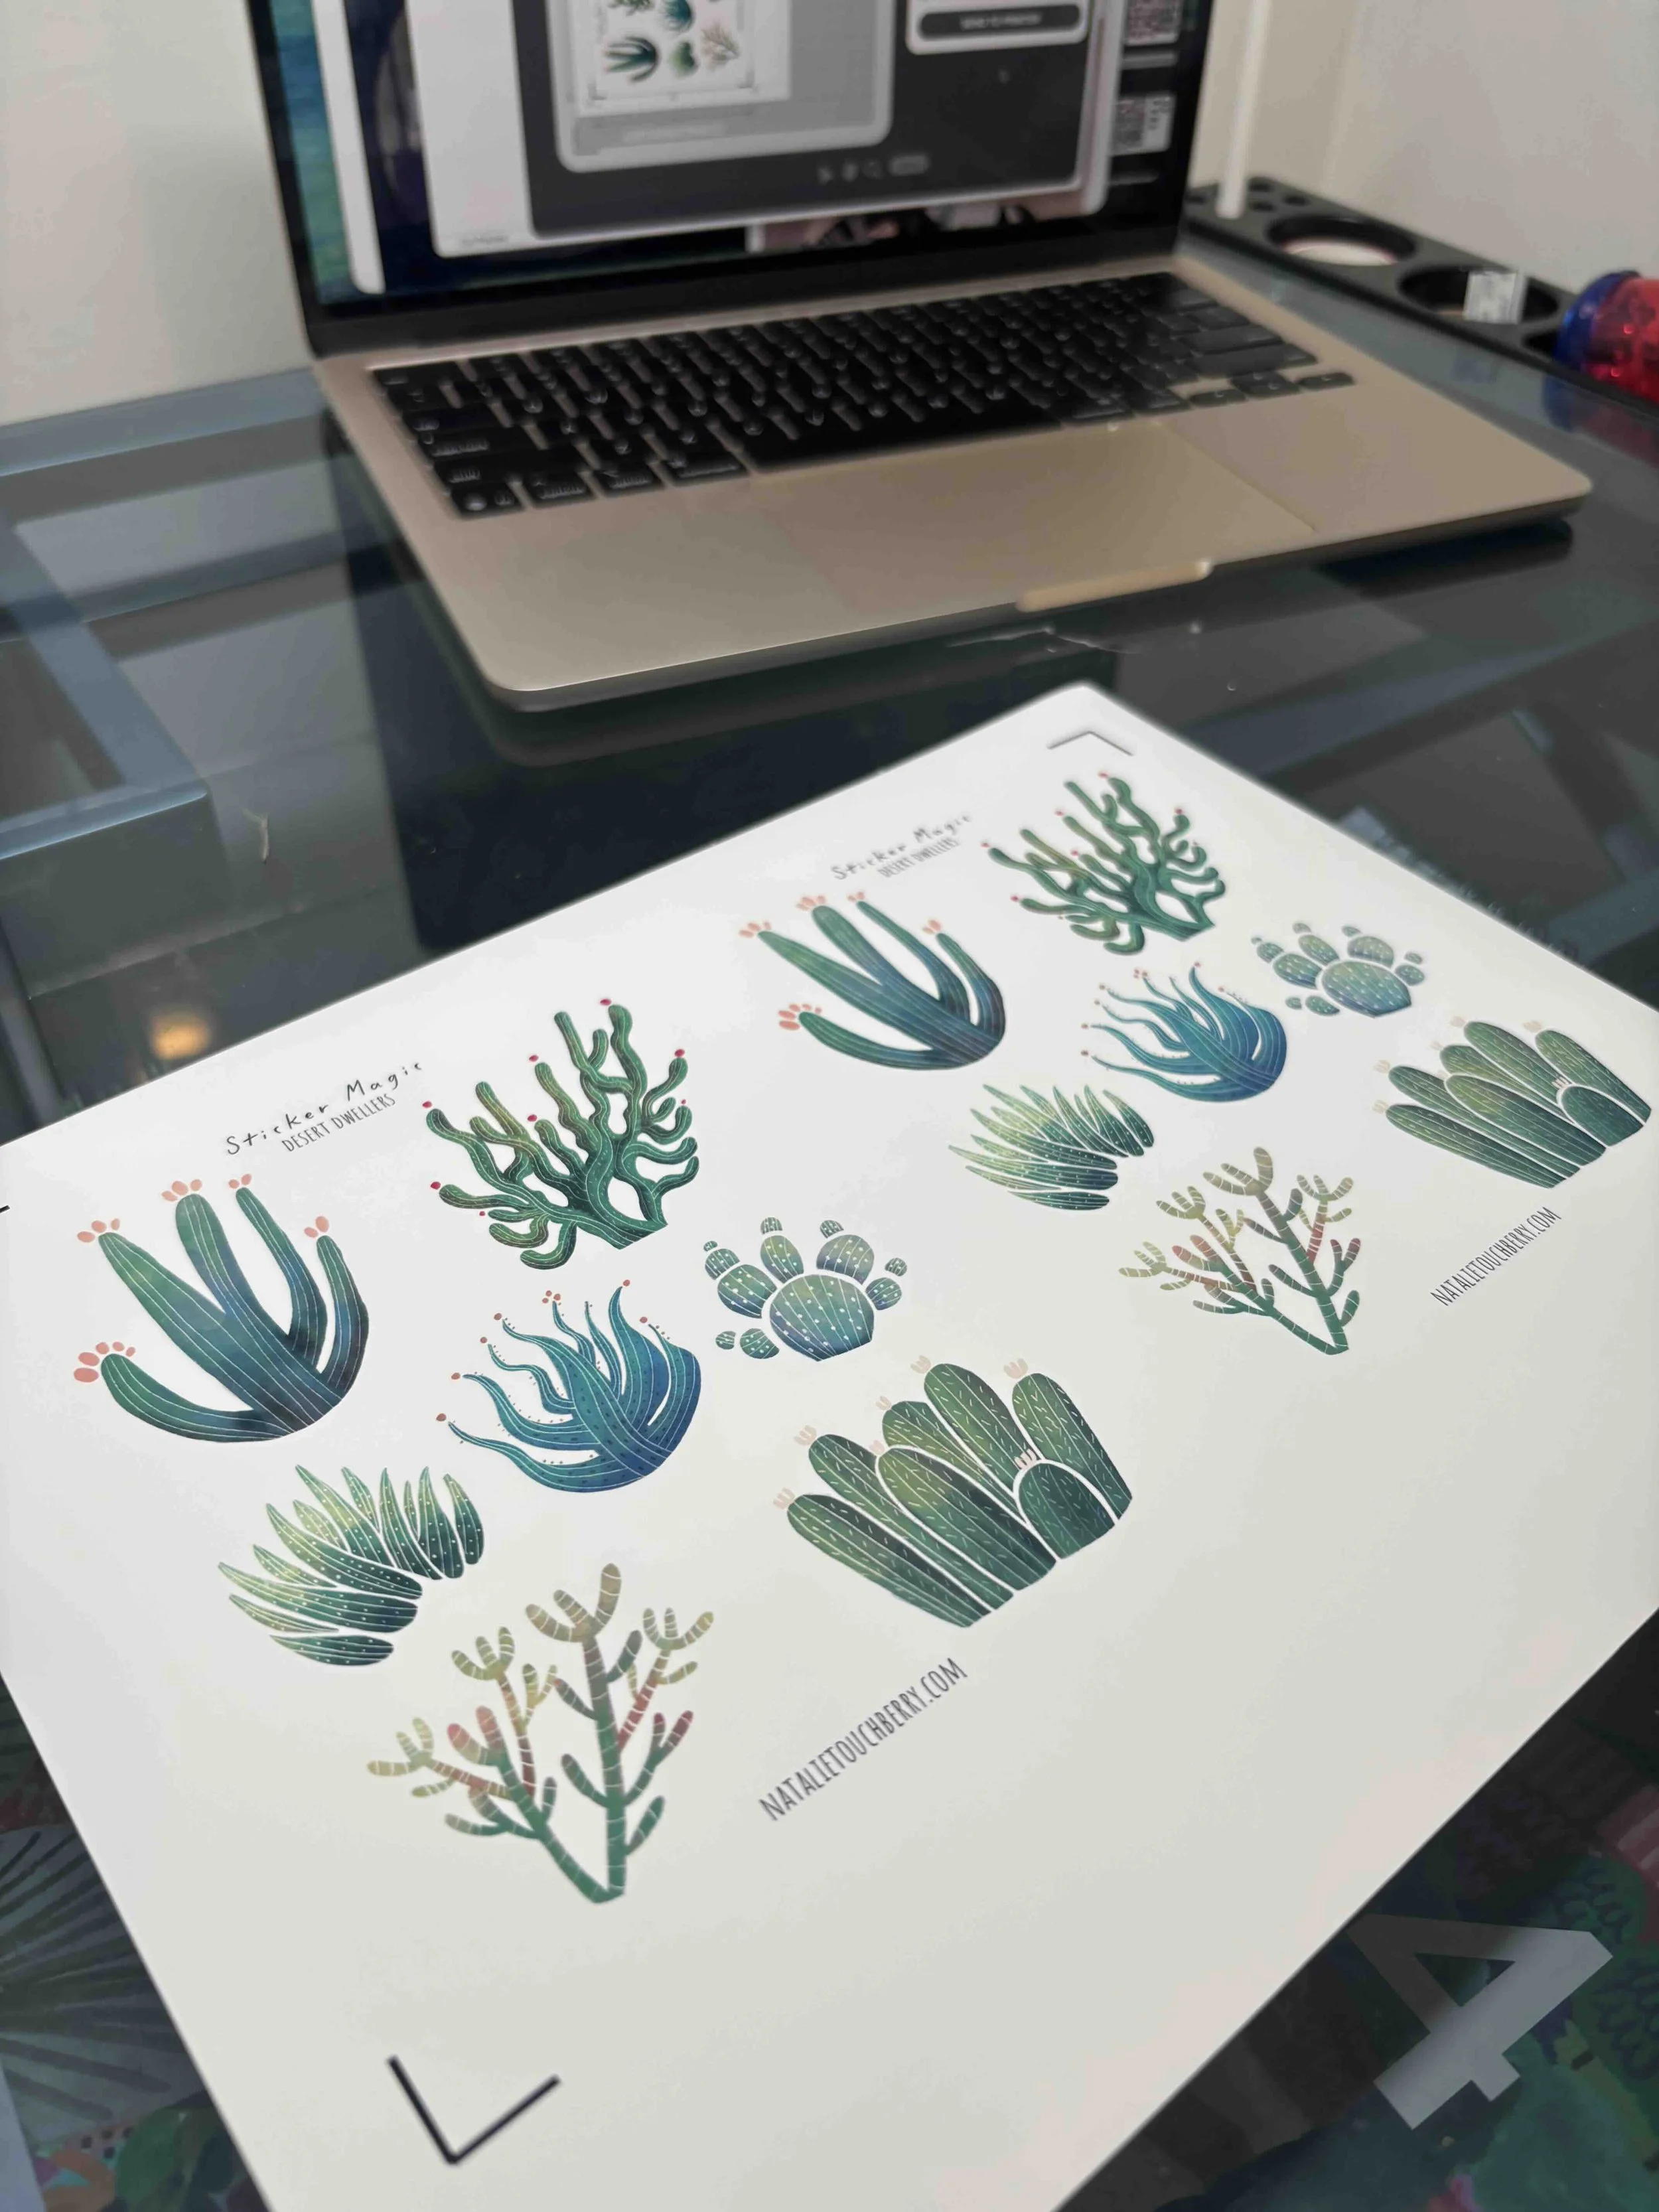
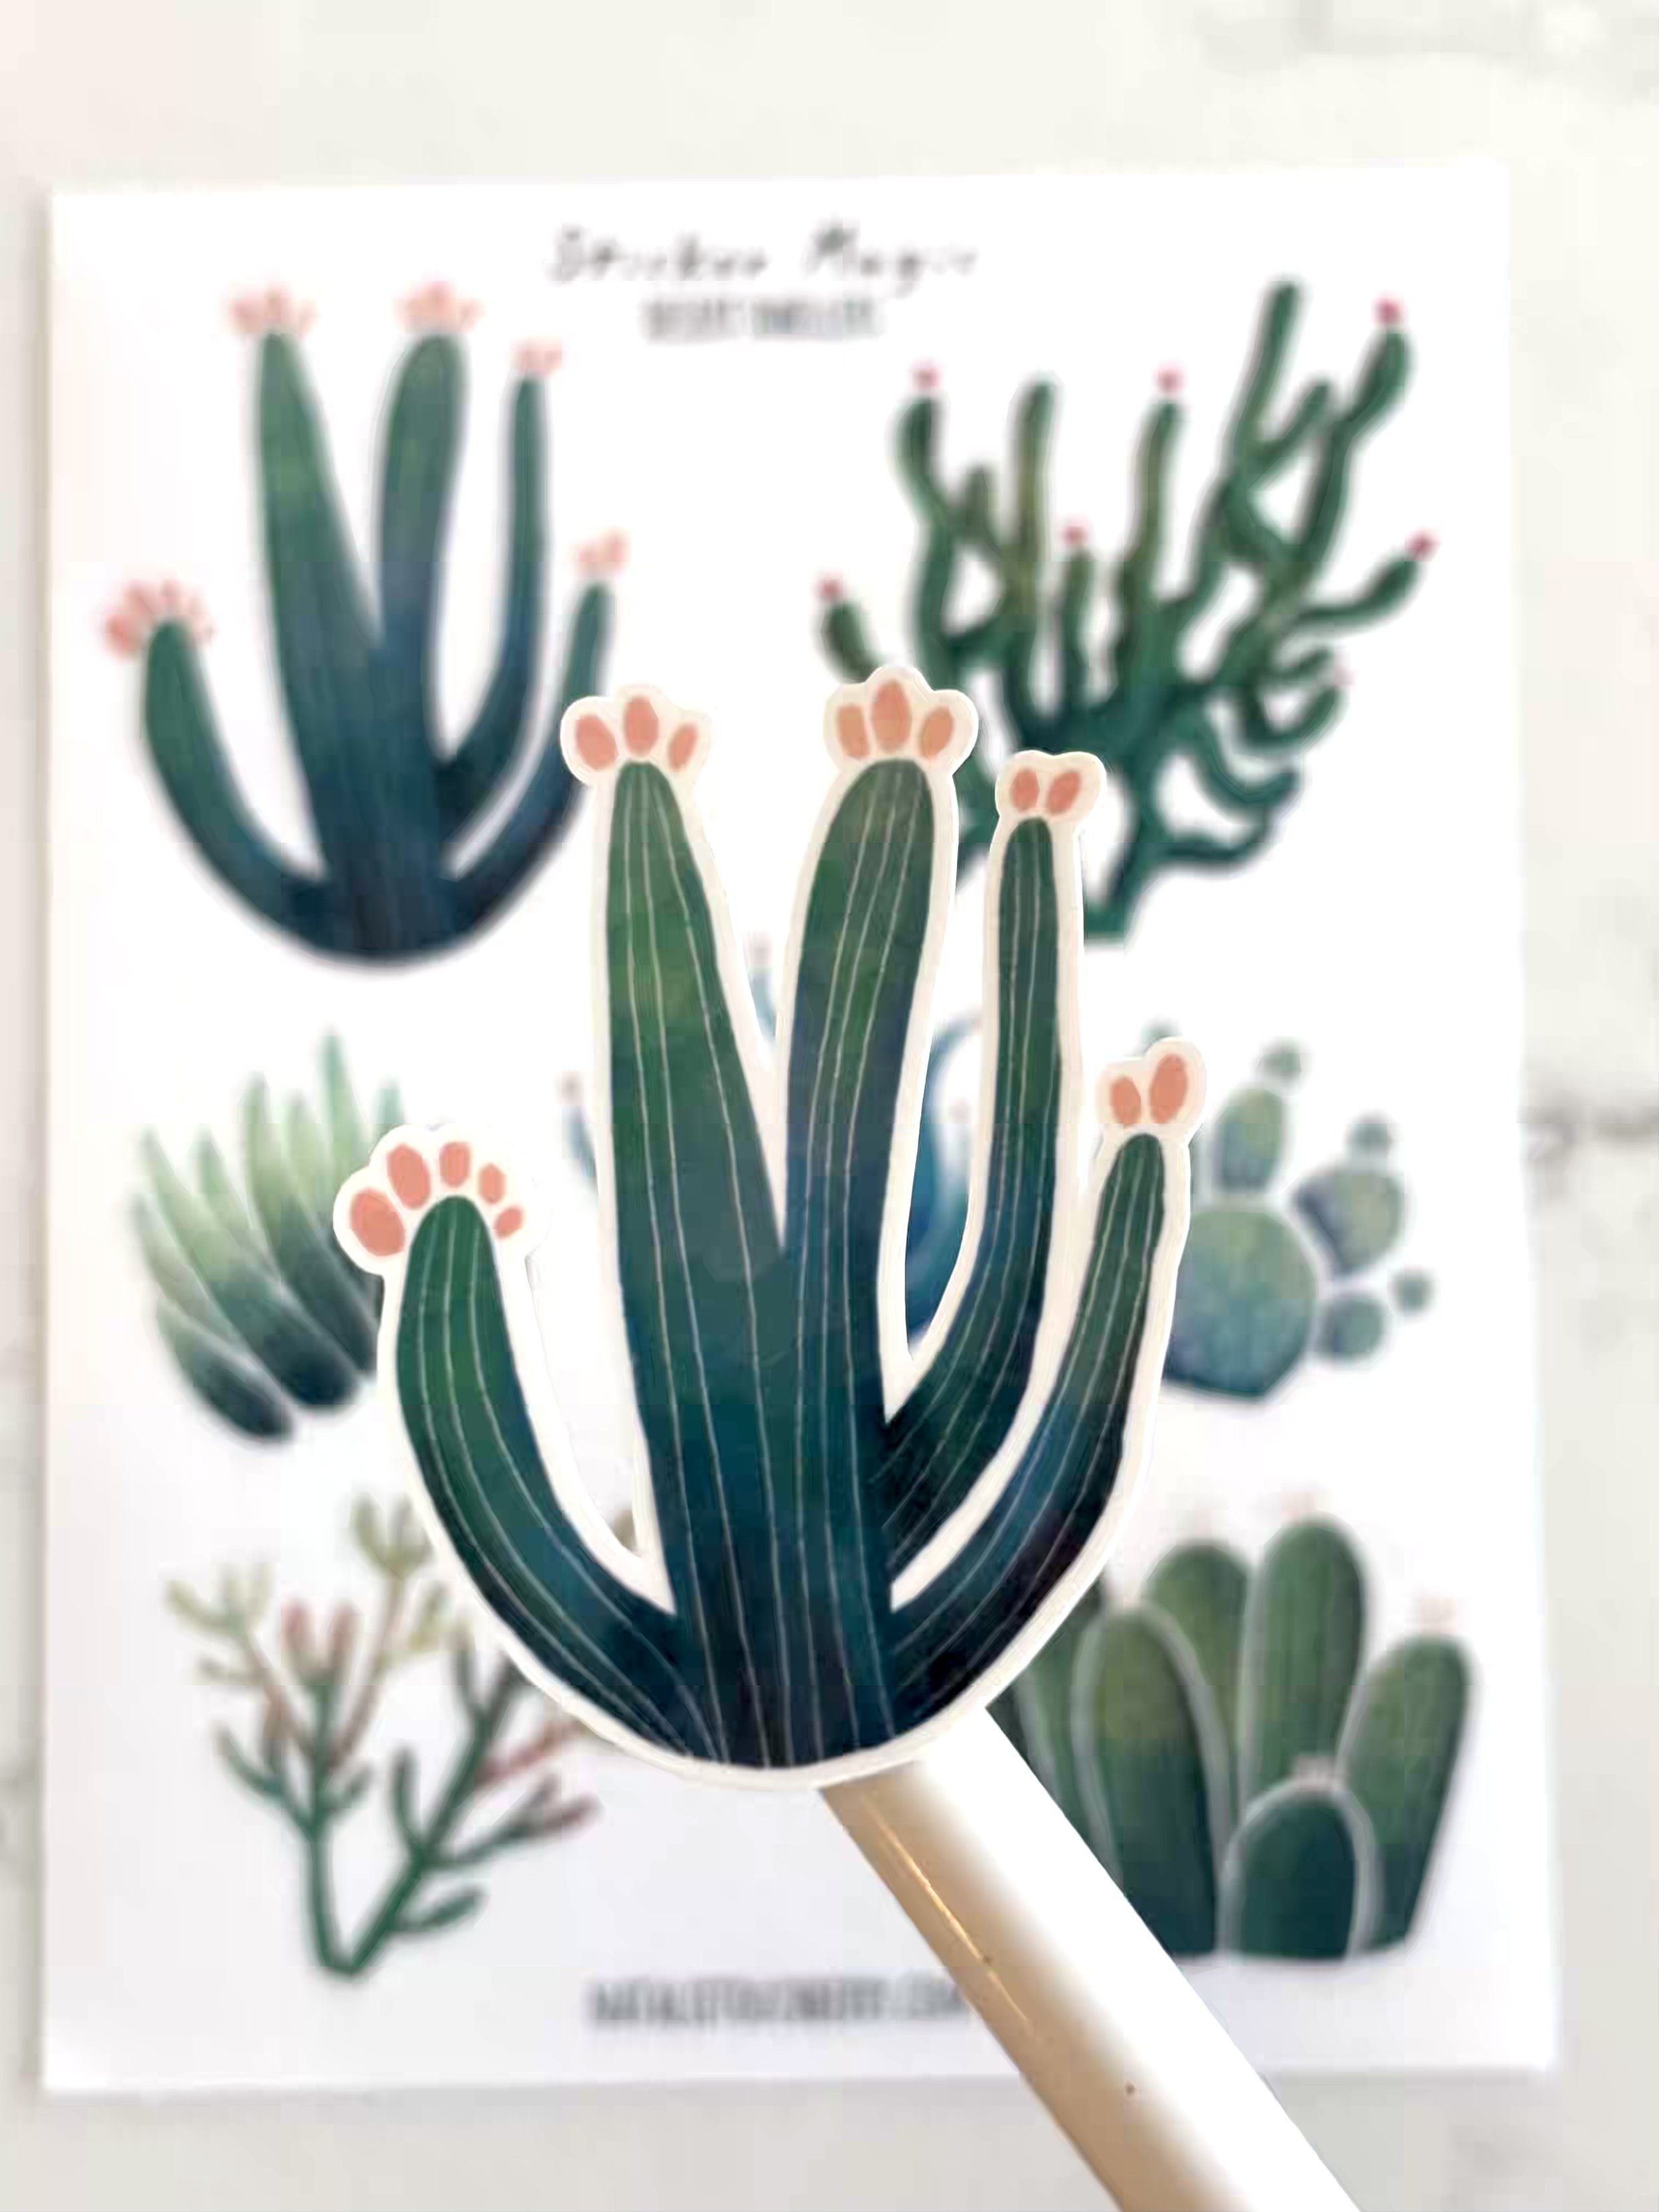
My sticker sheet finally in a physical form!
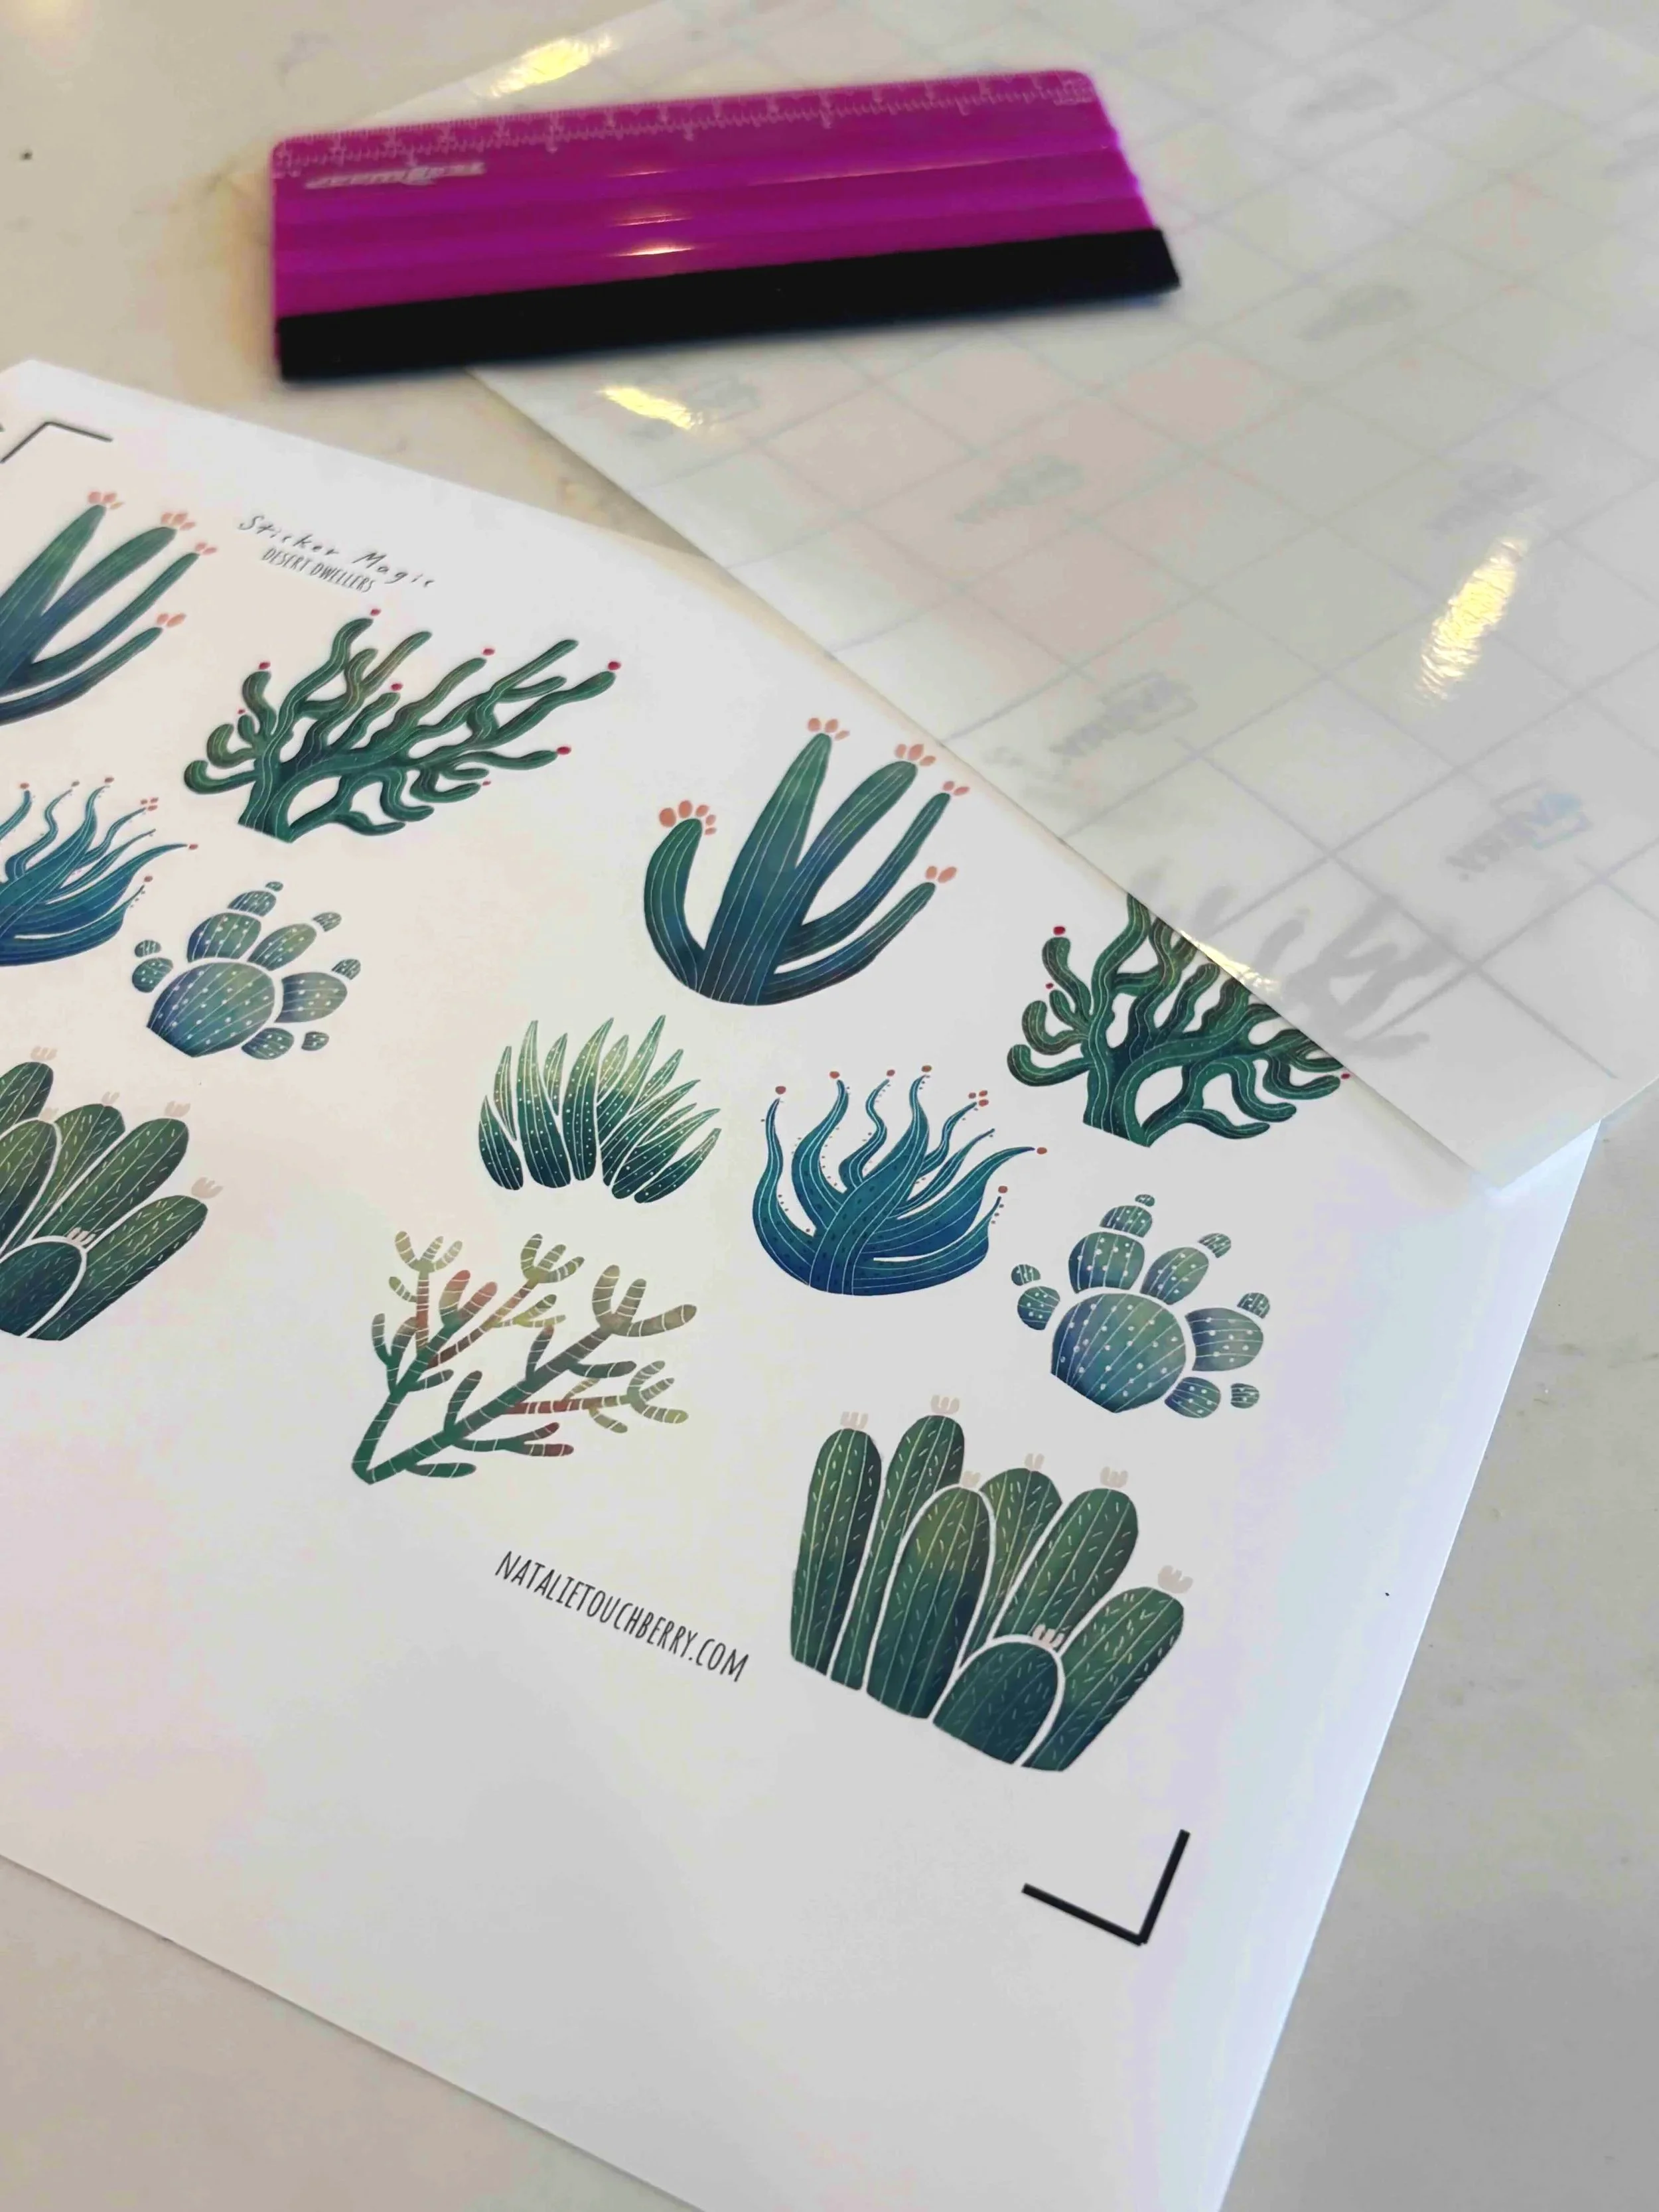
To make my stickers extra durable, I use a squeegee and hand-laminate a vinyl cover onto the freshly printed sheets.
Then, it’s back to my computer so I can adjust the settings on my Siser Juliet (my trusty cutting machine) to turn them into kiss-cut stickers.
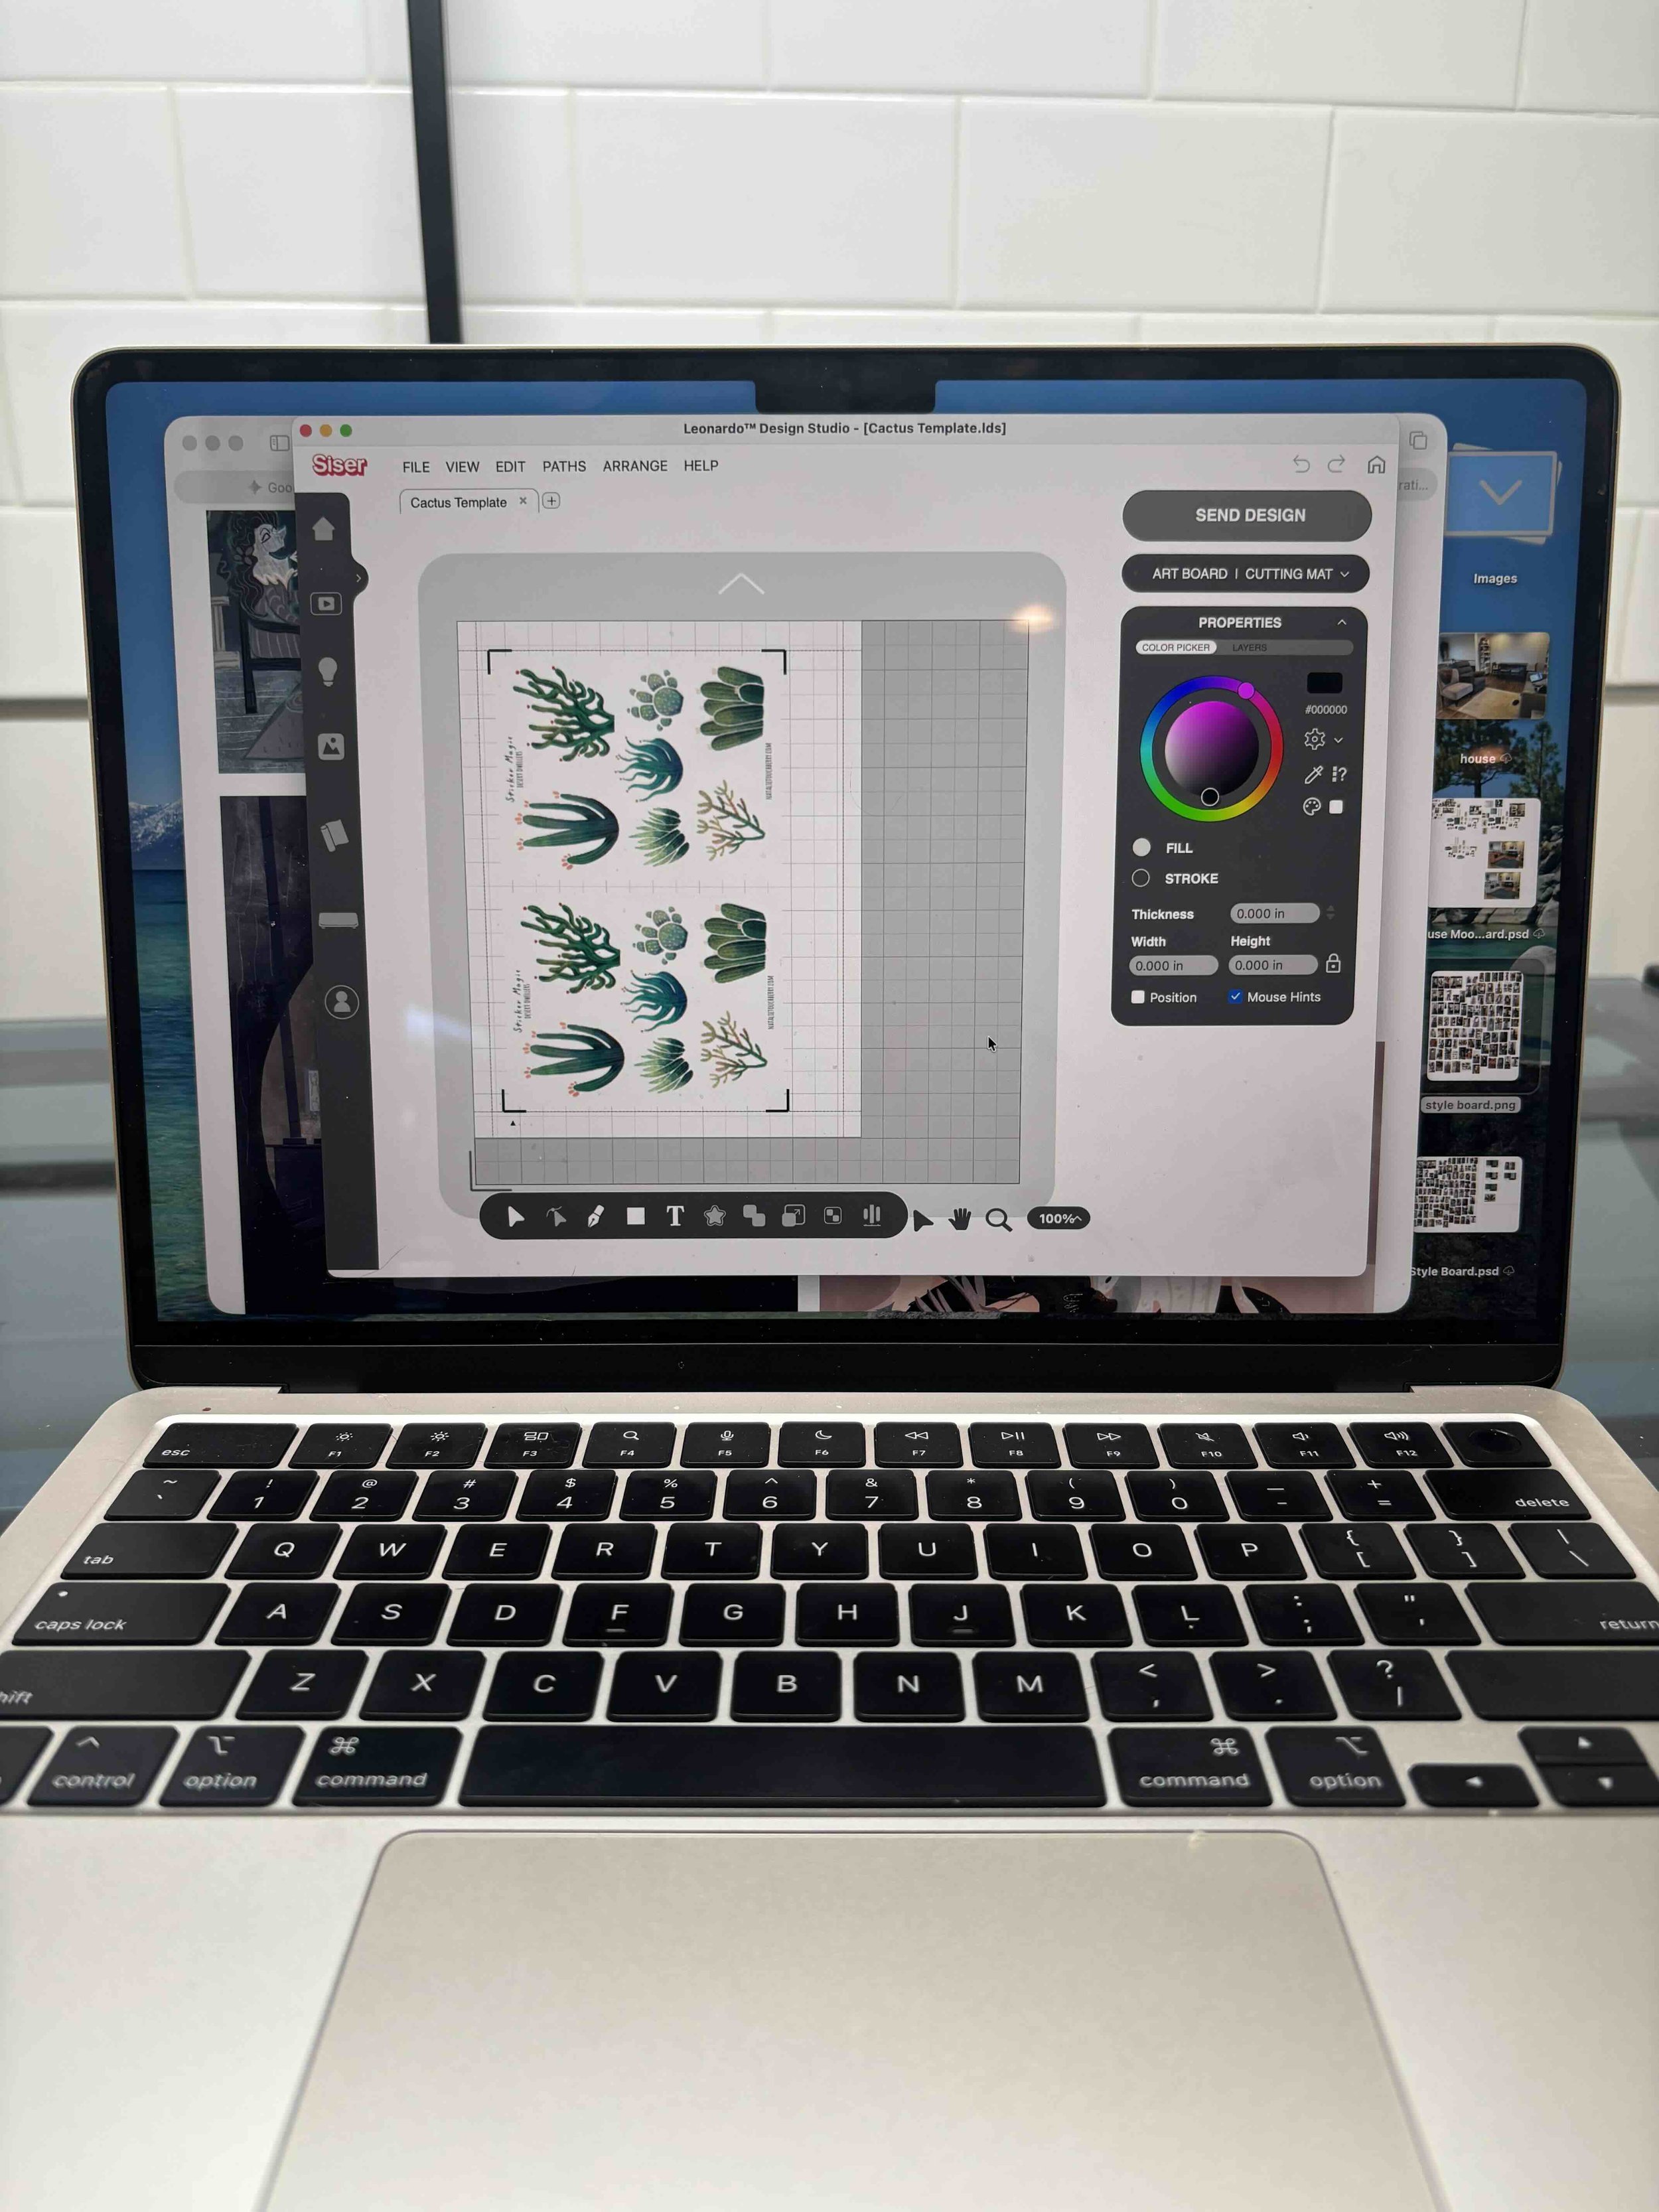
Adjusting cut settings in the Siser app.
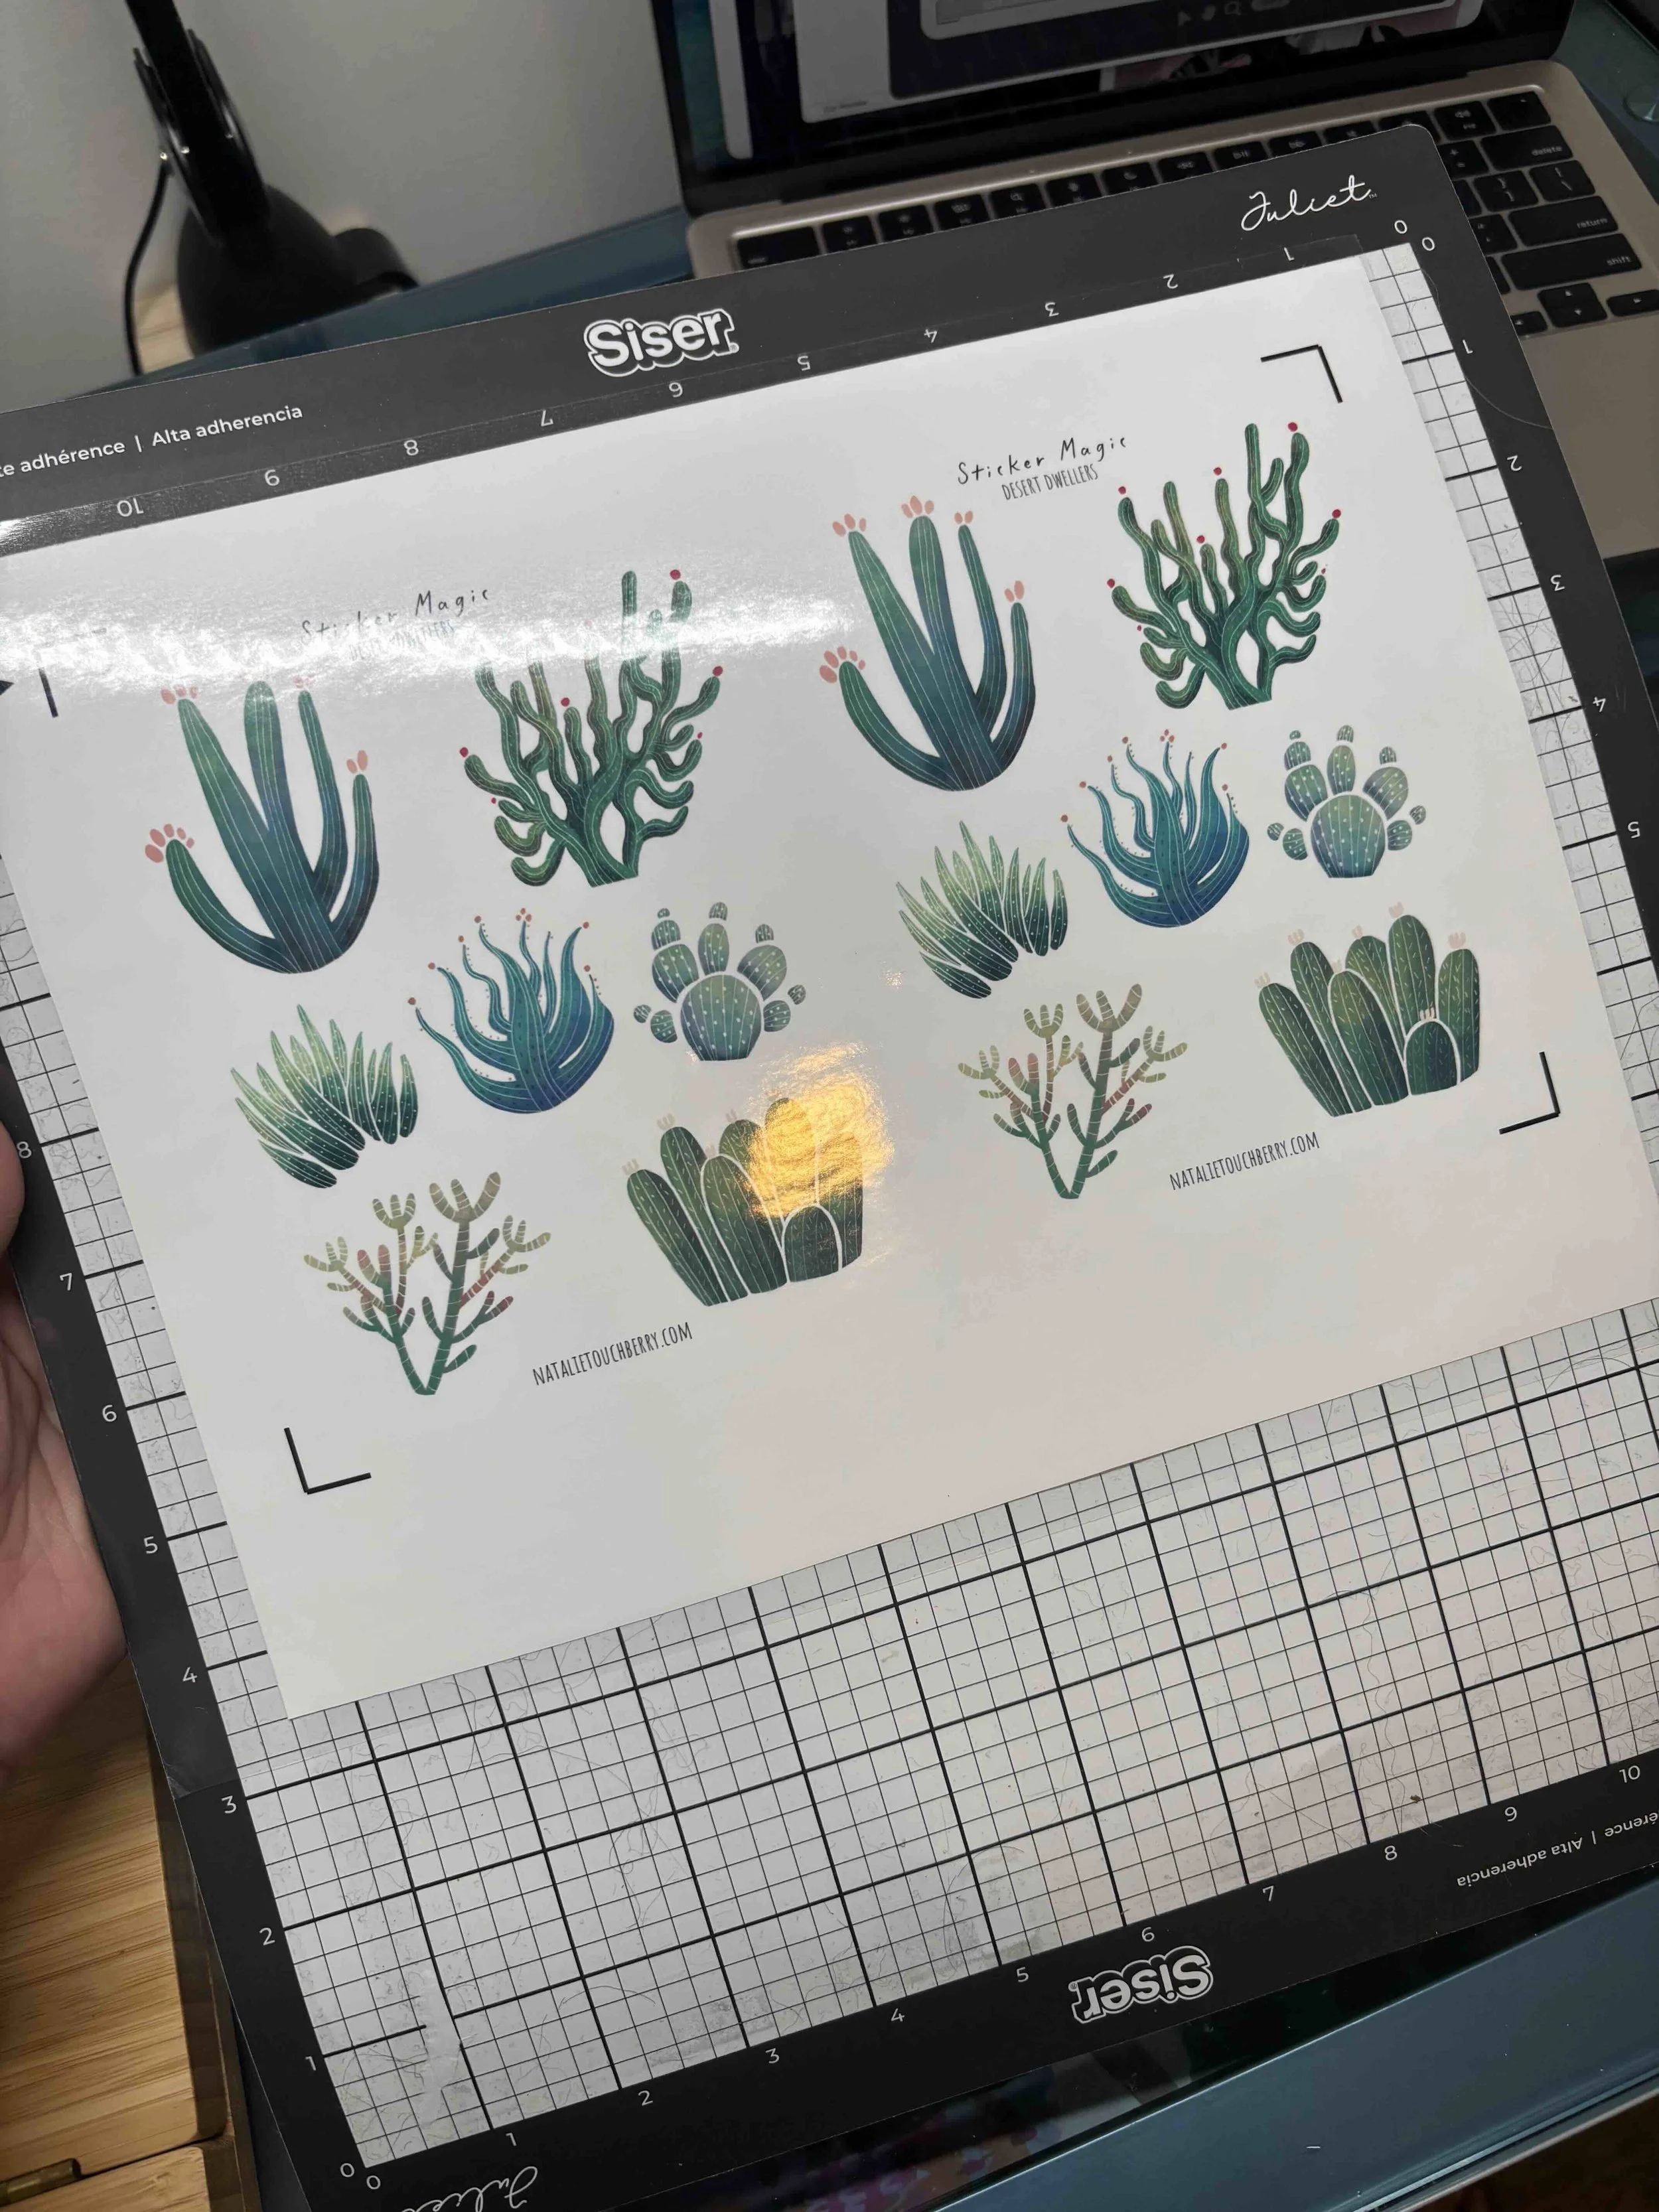
With the vinyl laminate applied, I put my sticker sheet on a cutting mat and it’s finally time to cut some stickers!
Mistakes happen along the way…like when the cutter went straight through the backing, sending me back to the computer to tweak settings.
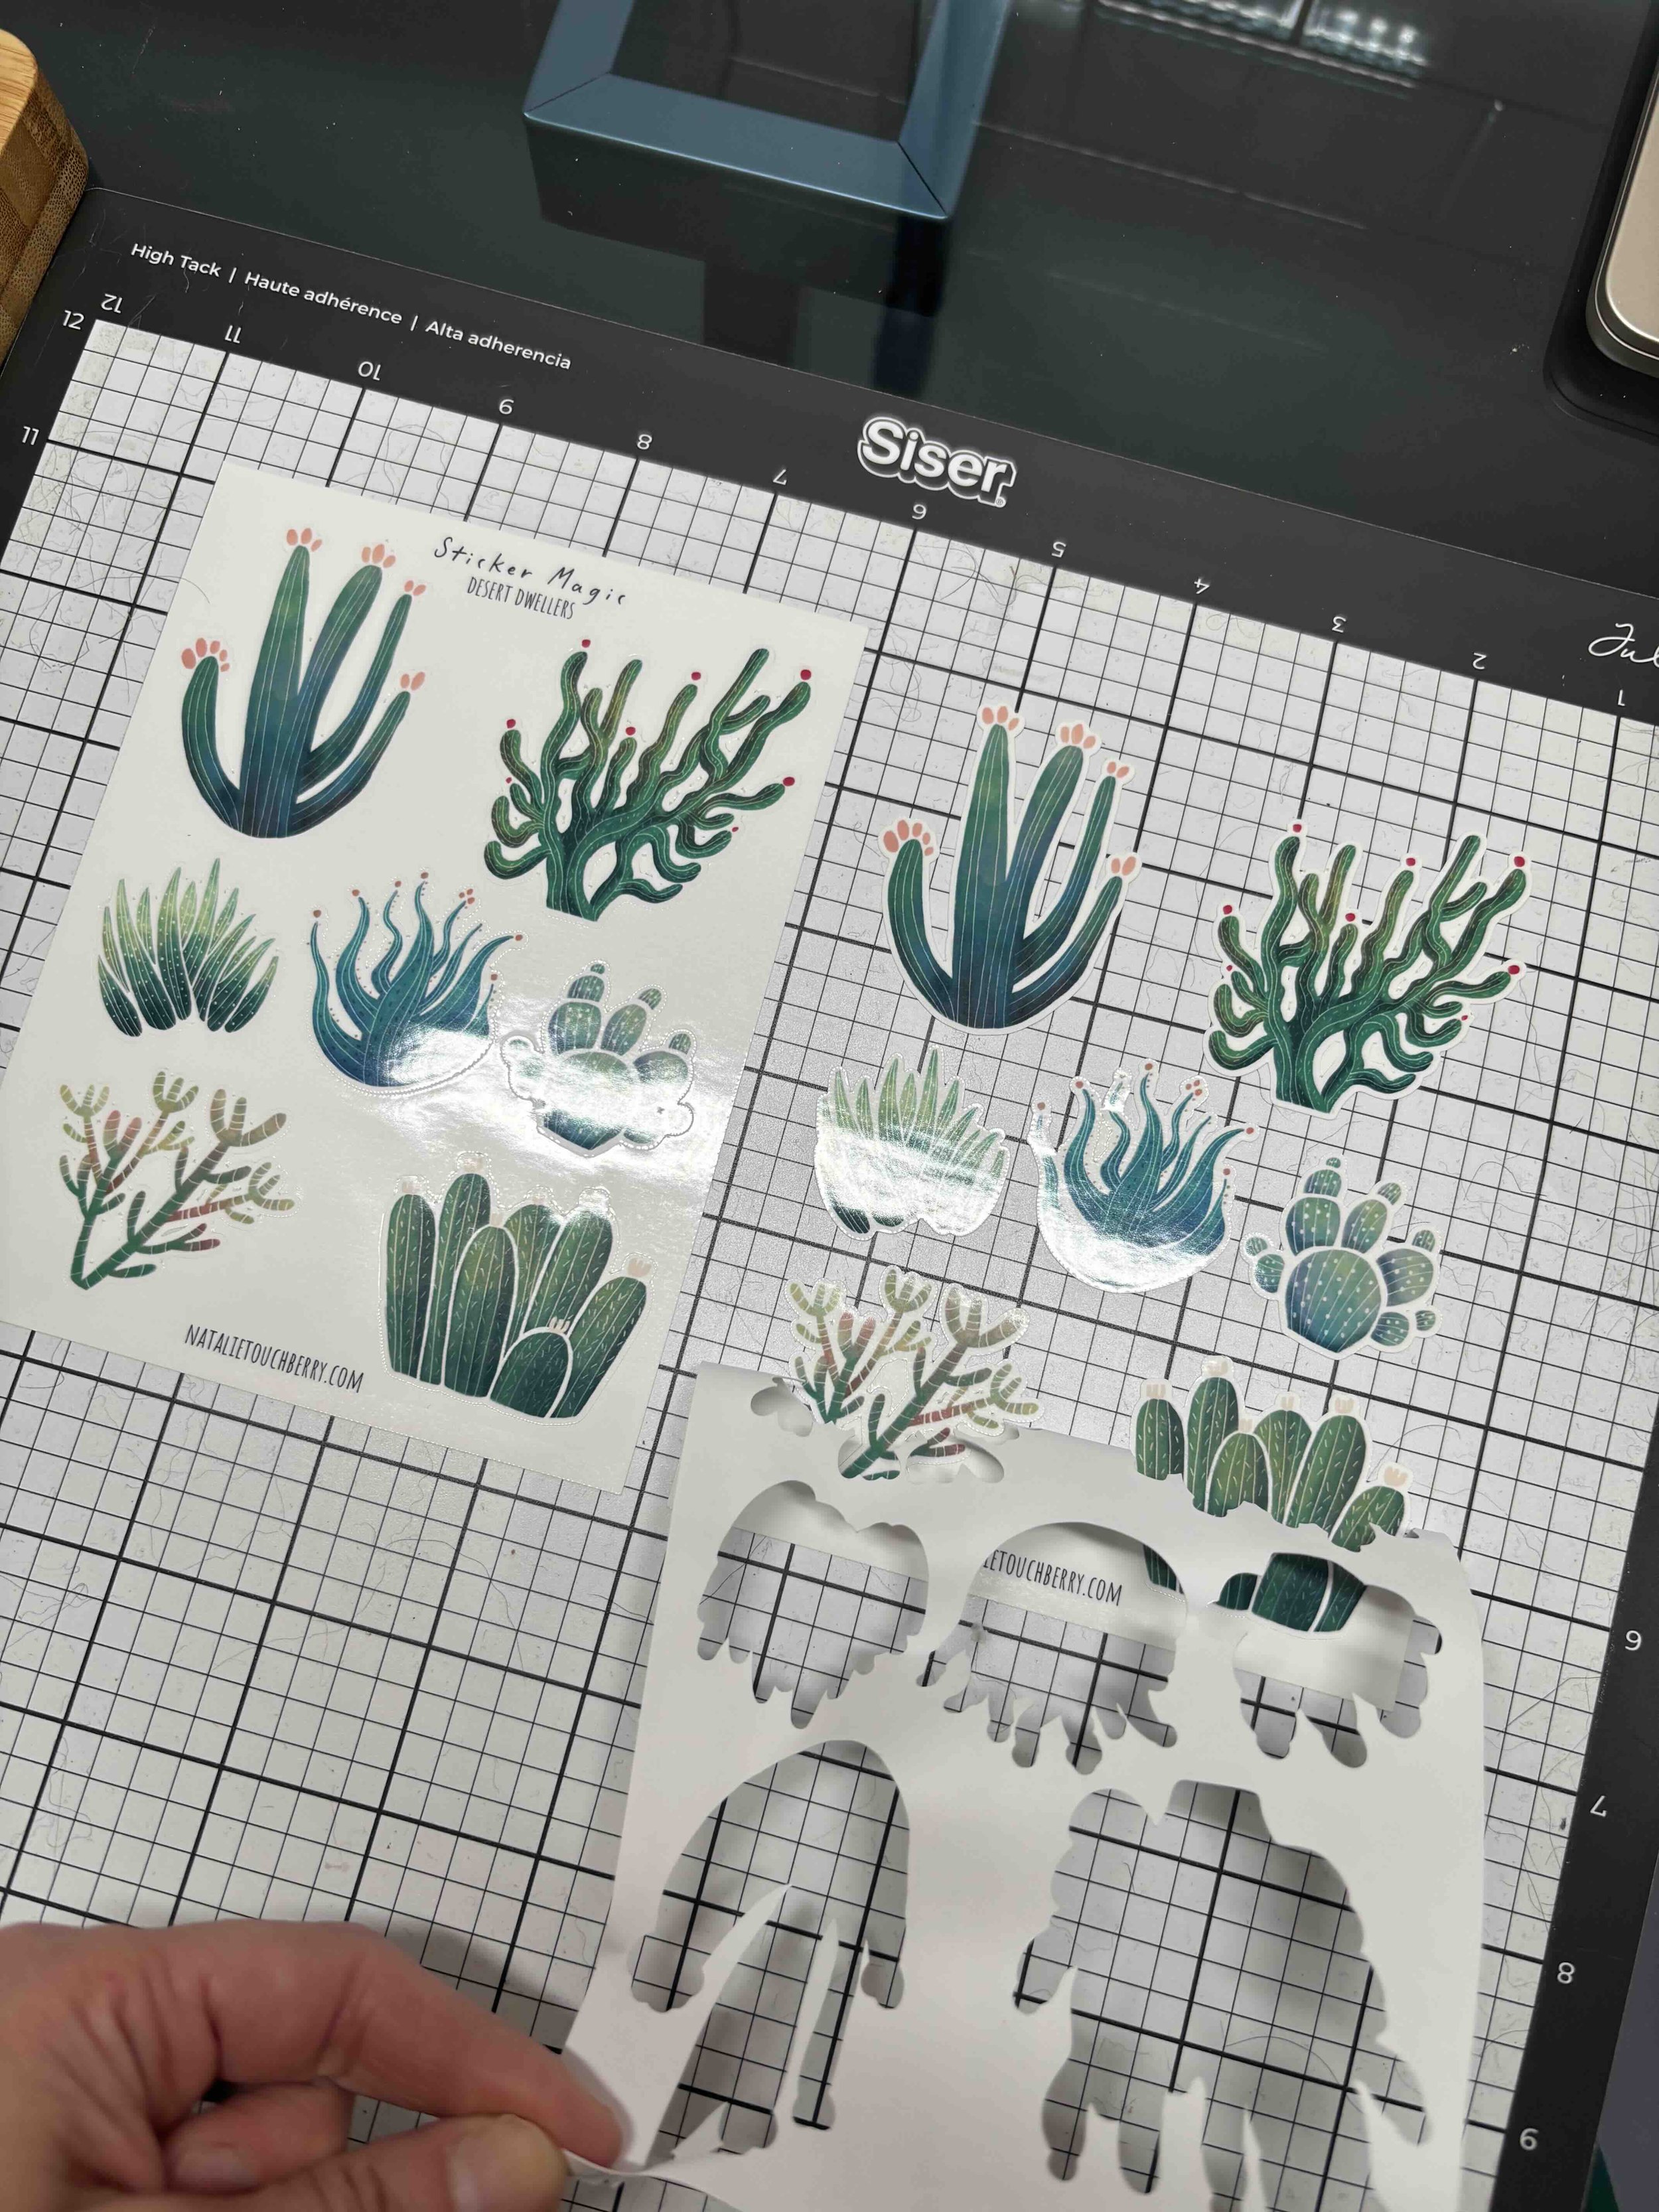
Mishaps handled, the production line begins: laminate, cut with the Siser Juliet, and repeat until the shop is fully stocked.
My Siser Juliet cutter making kiss-cut stickers.
The Finished Result
After all those steps (and some literal sweat and tears in the production phase), voila! We have stickers!
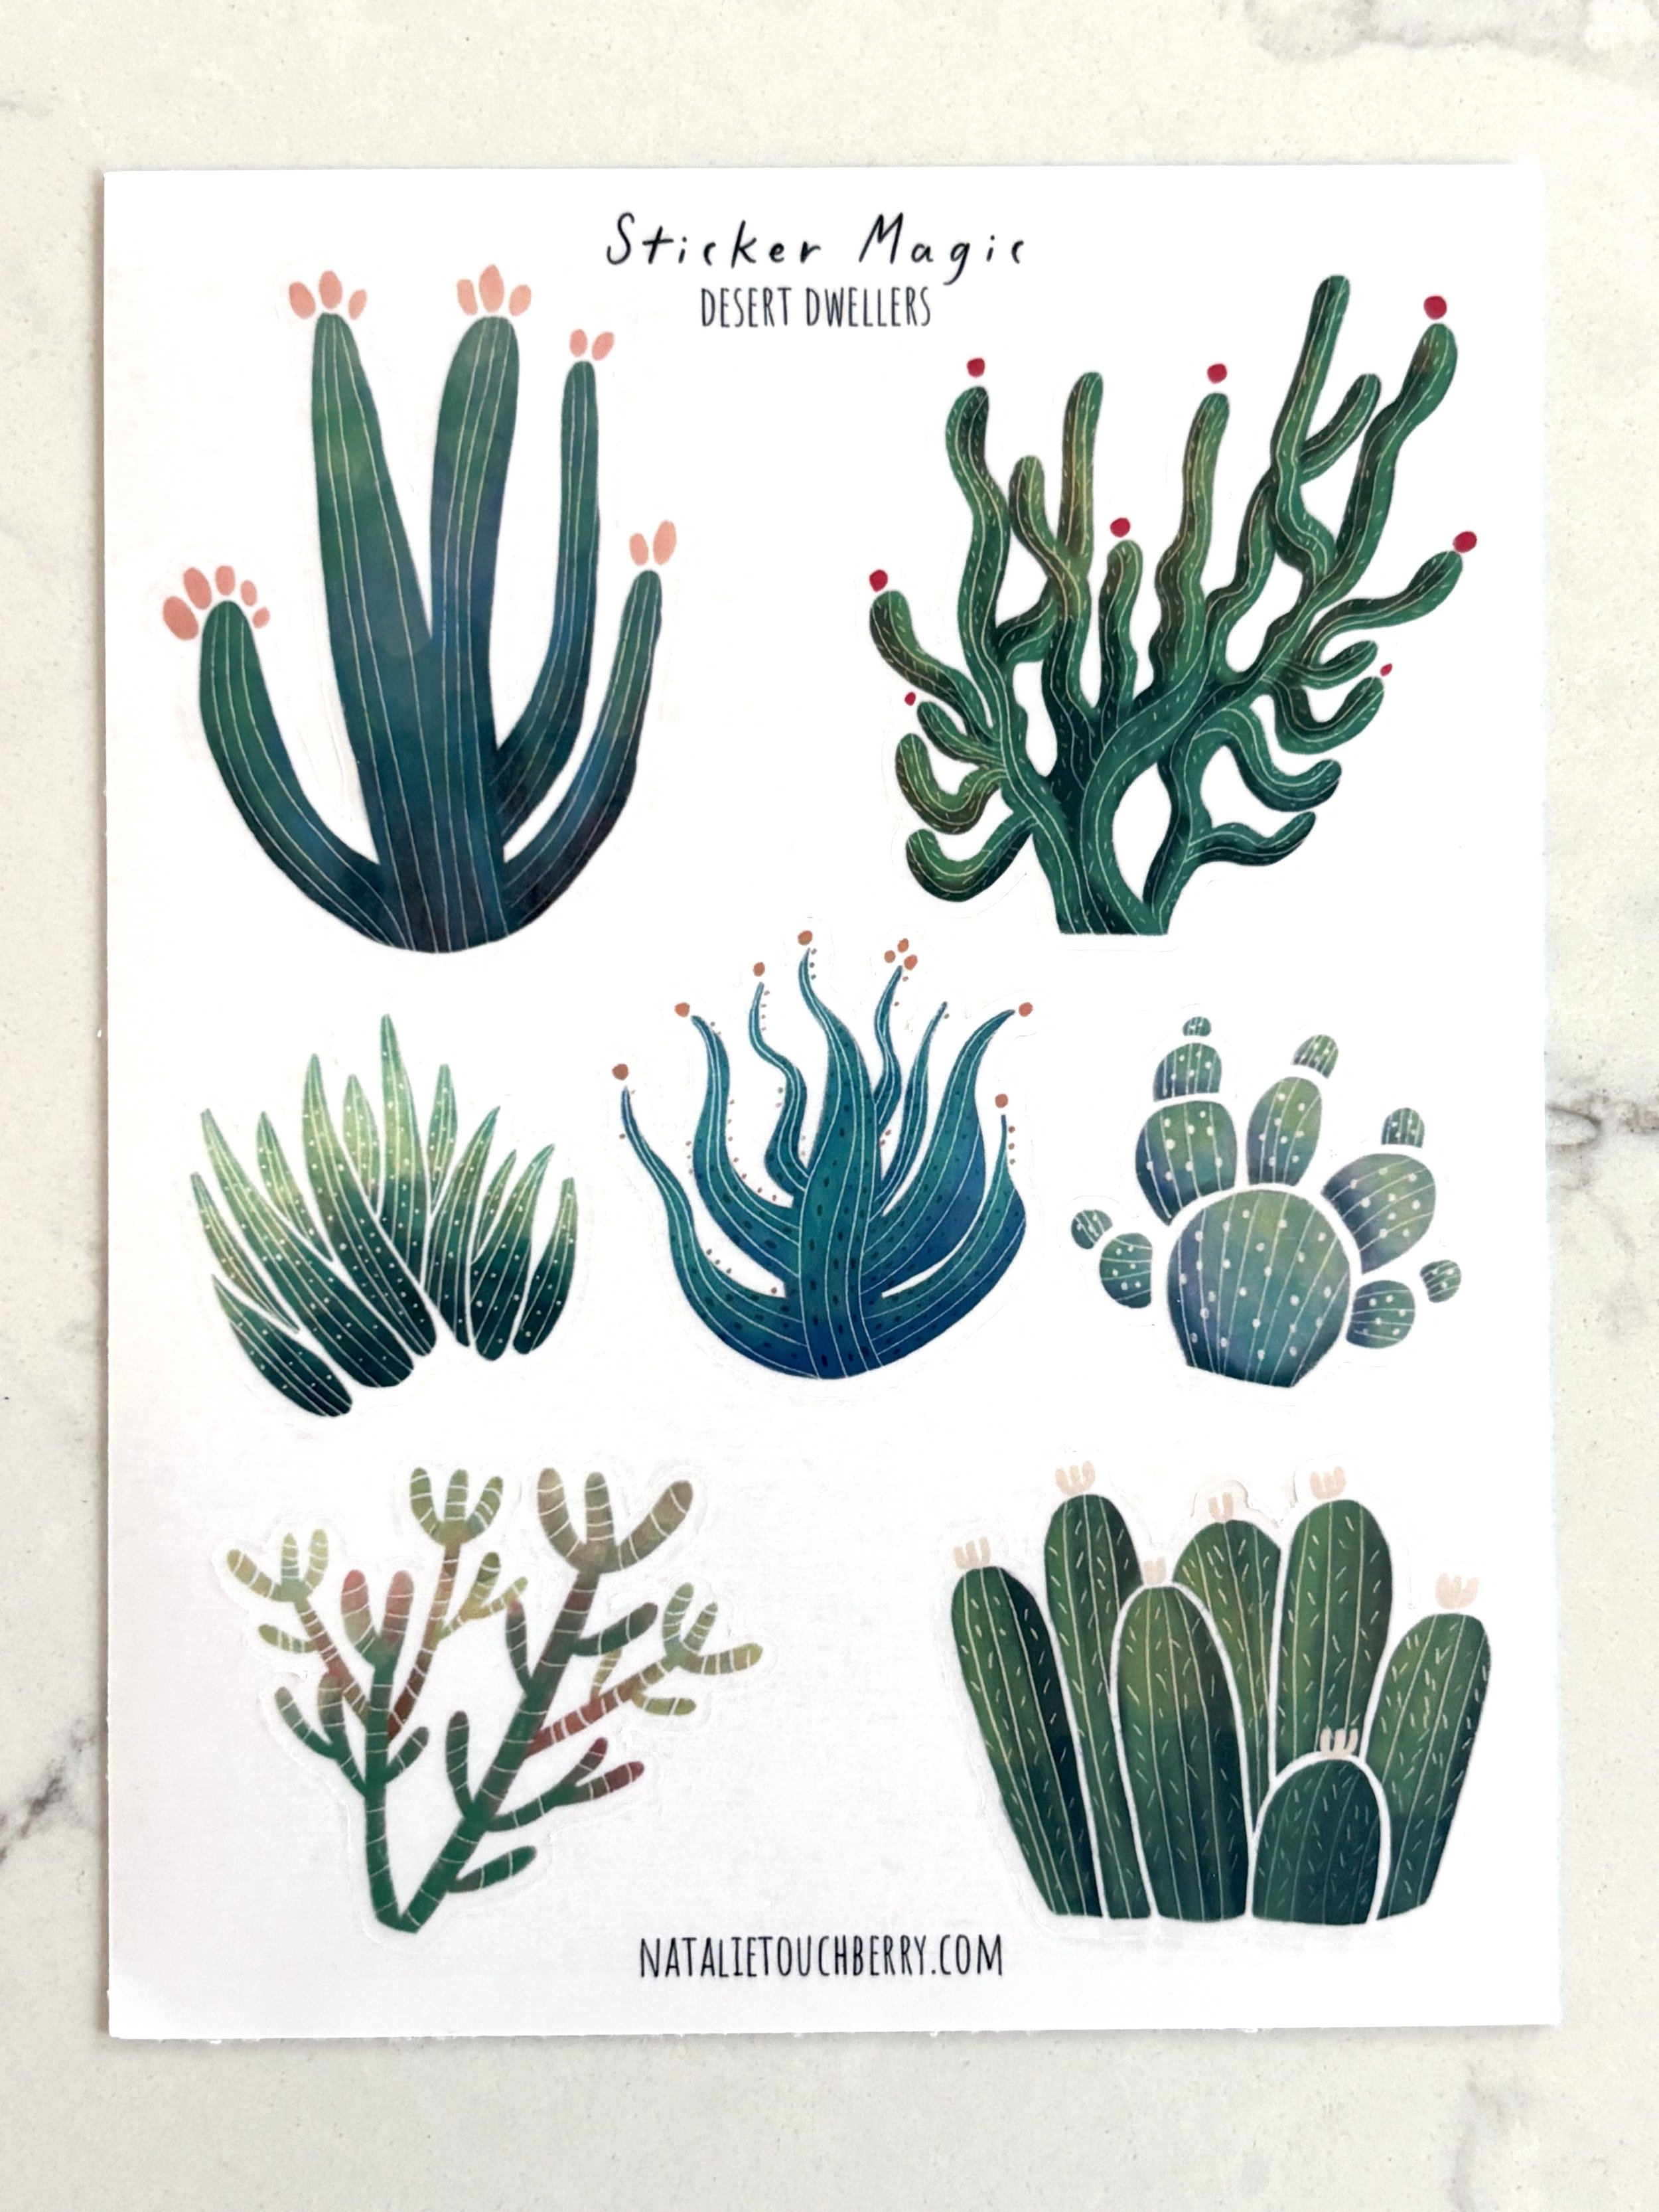
You can find the finished stickers here in my shop.
If you’d like to more updates on the art I’m creating (including inside looks at some of the children’s publishing projects I’m working on), sign up for my newsletter here.
Thanks for reading!